
01Primary image (white / compliant)
Example set. Your generated images will replace it after you start.


Turn 1–6 photos of the same product into a structured set of listing, lifestyle, selling-point, detail, and campaign visuals. Choose the destination platform, target market, image language, format, and set structure before you generate.
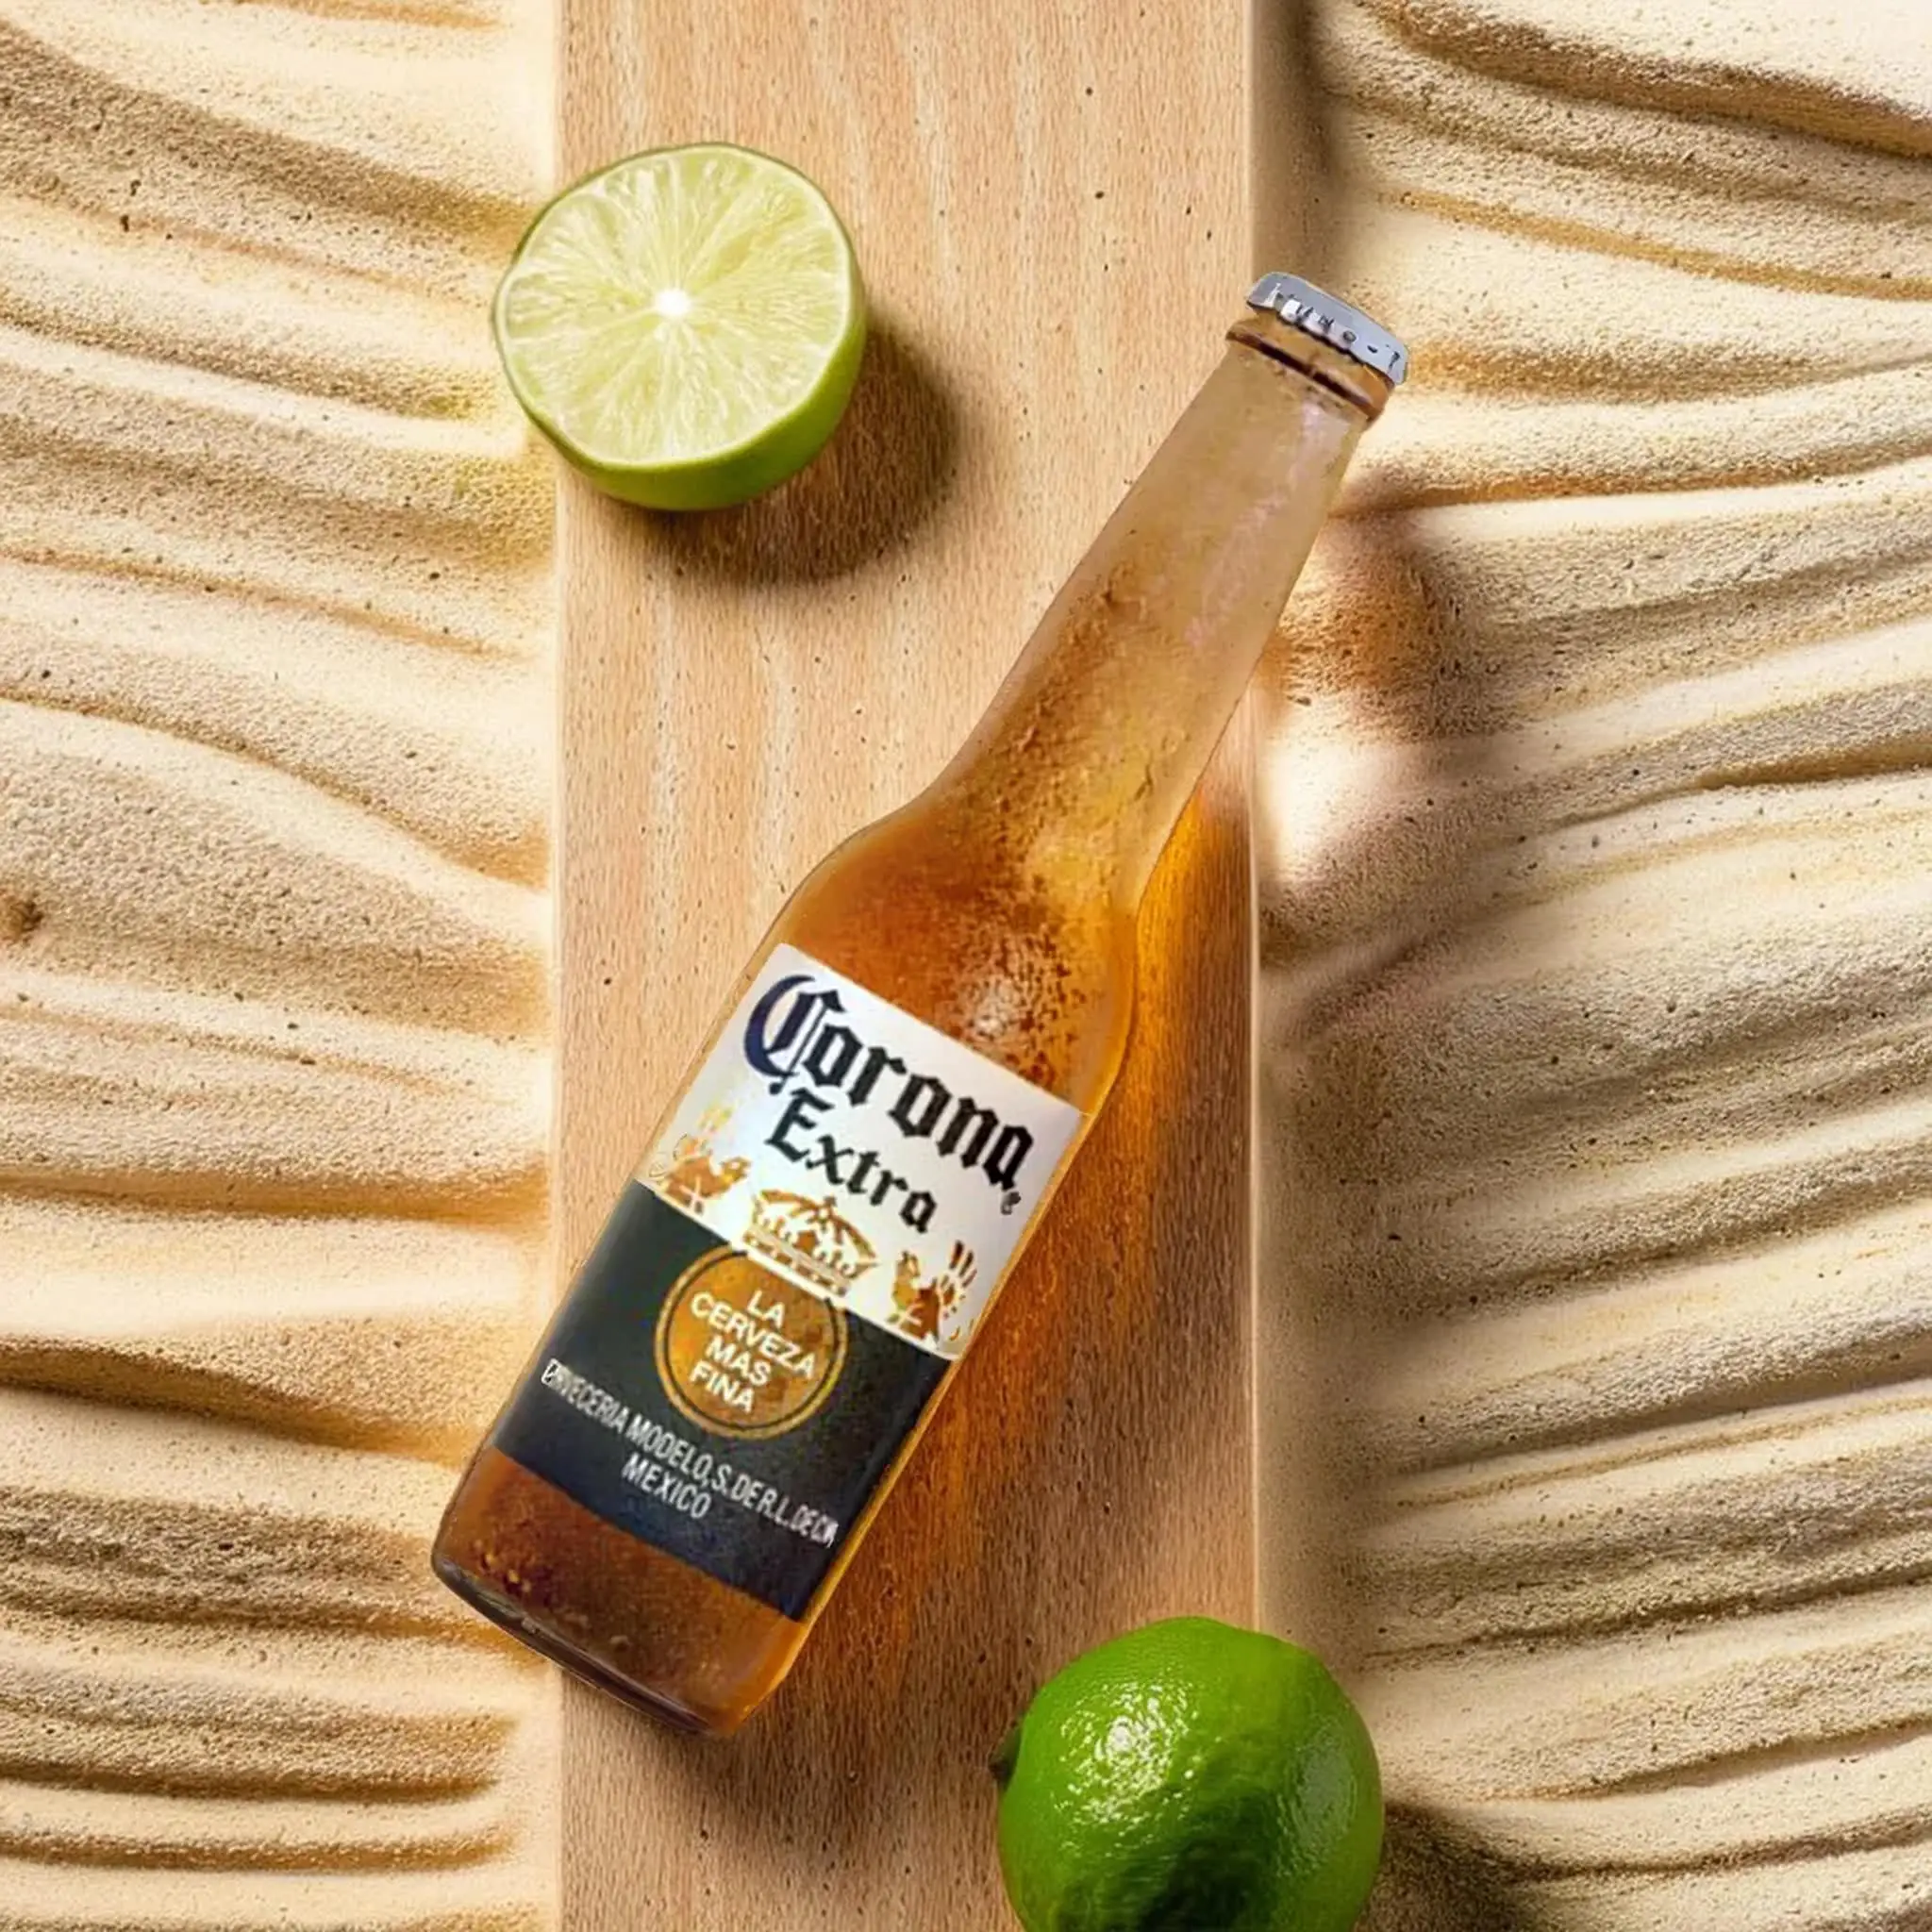
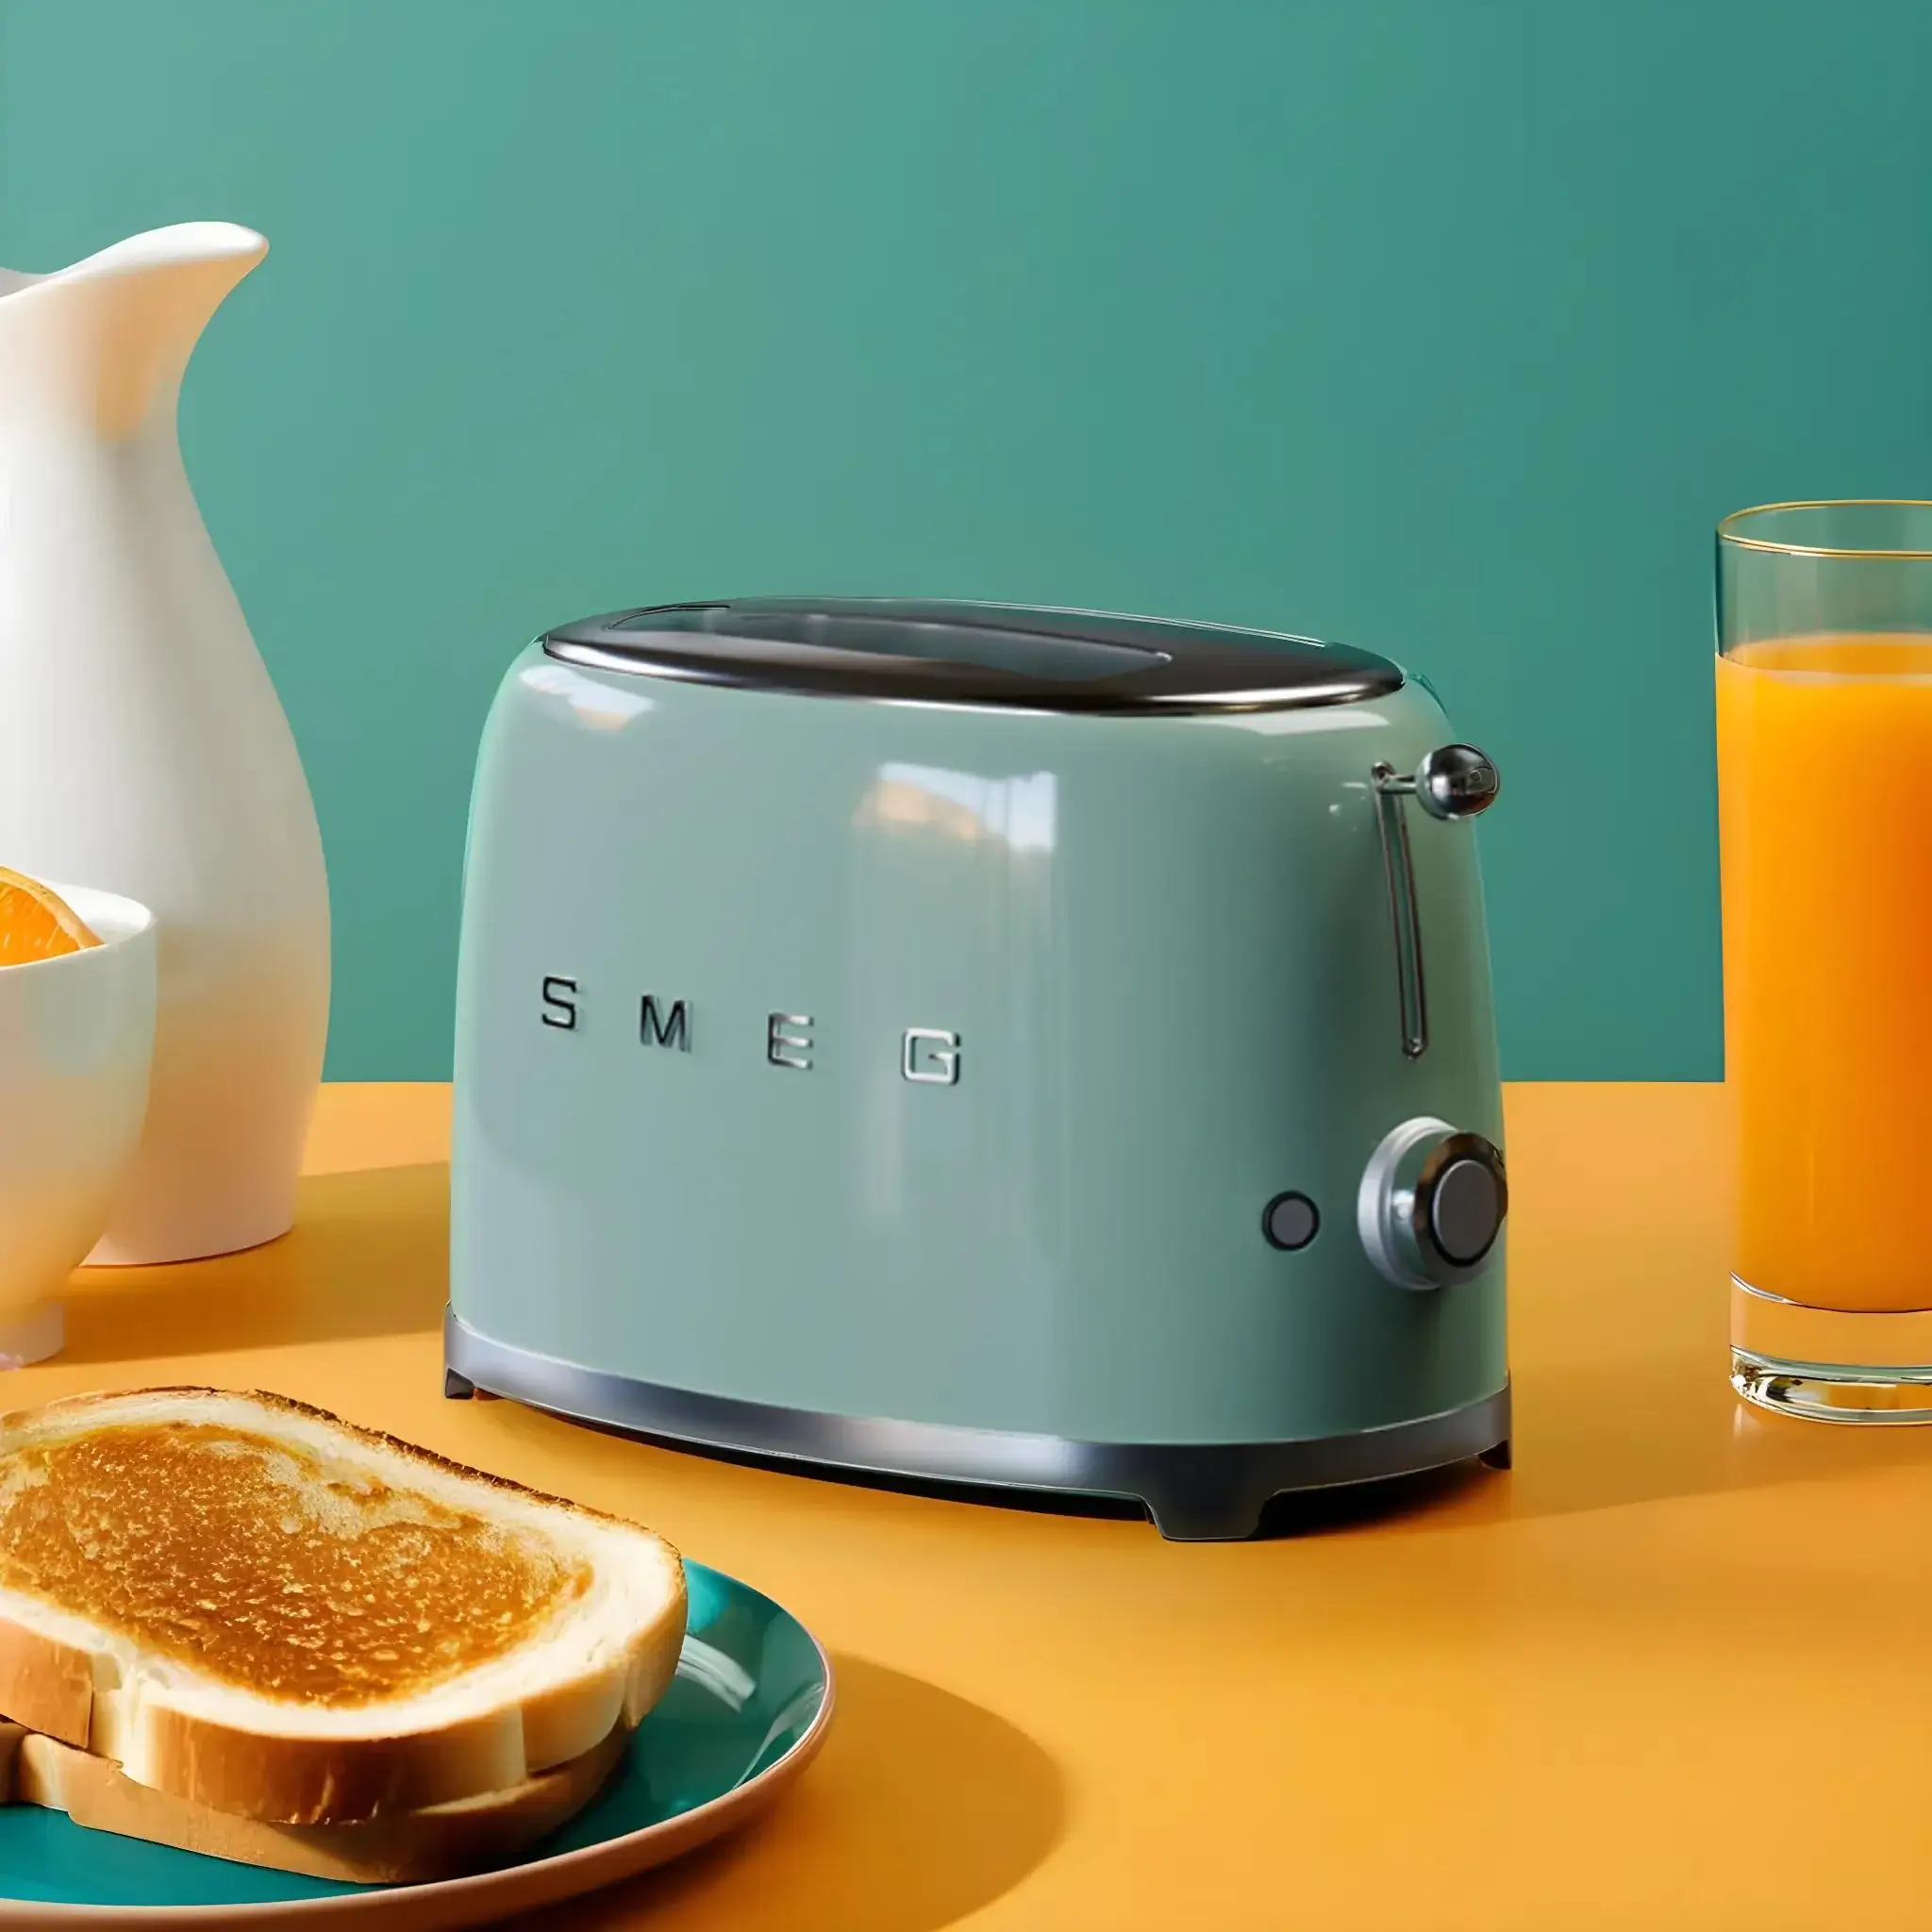
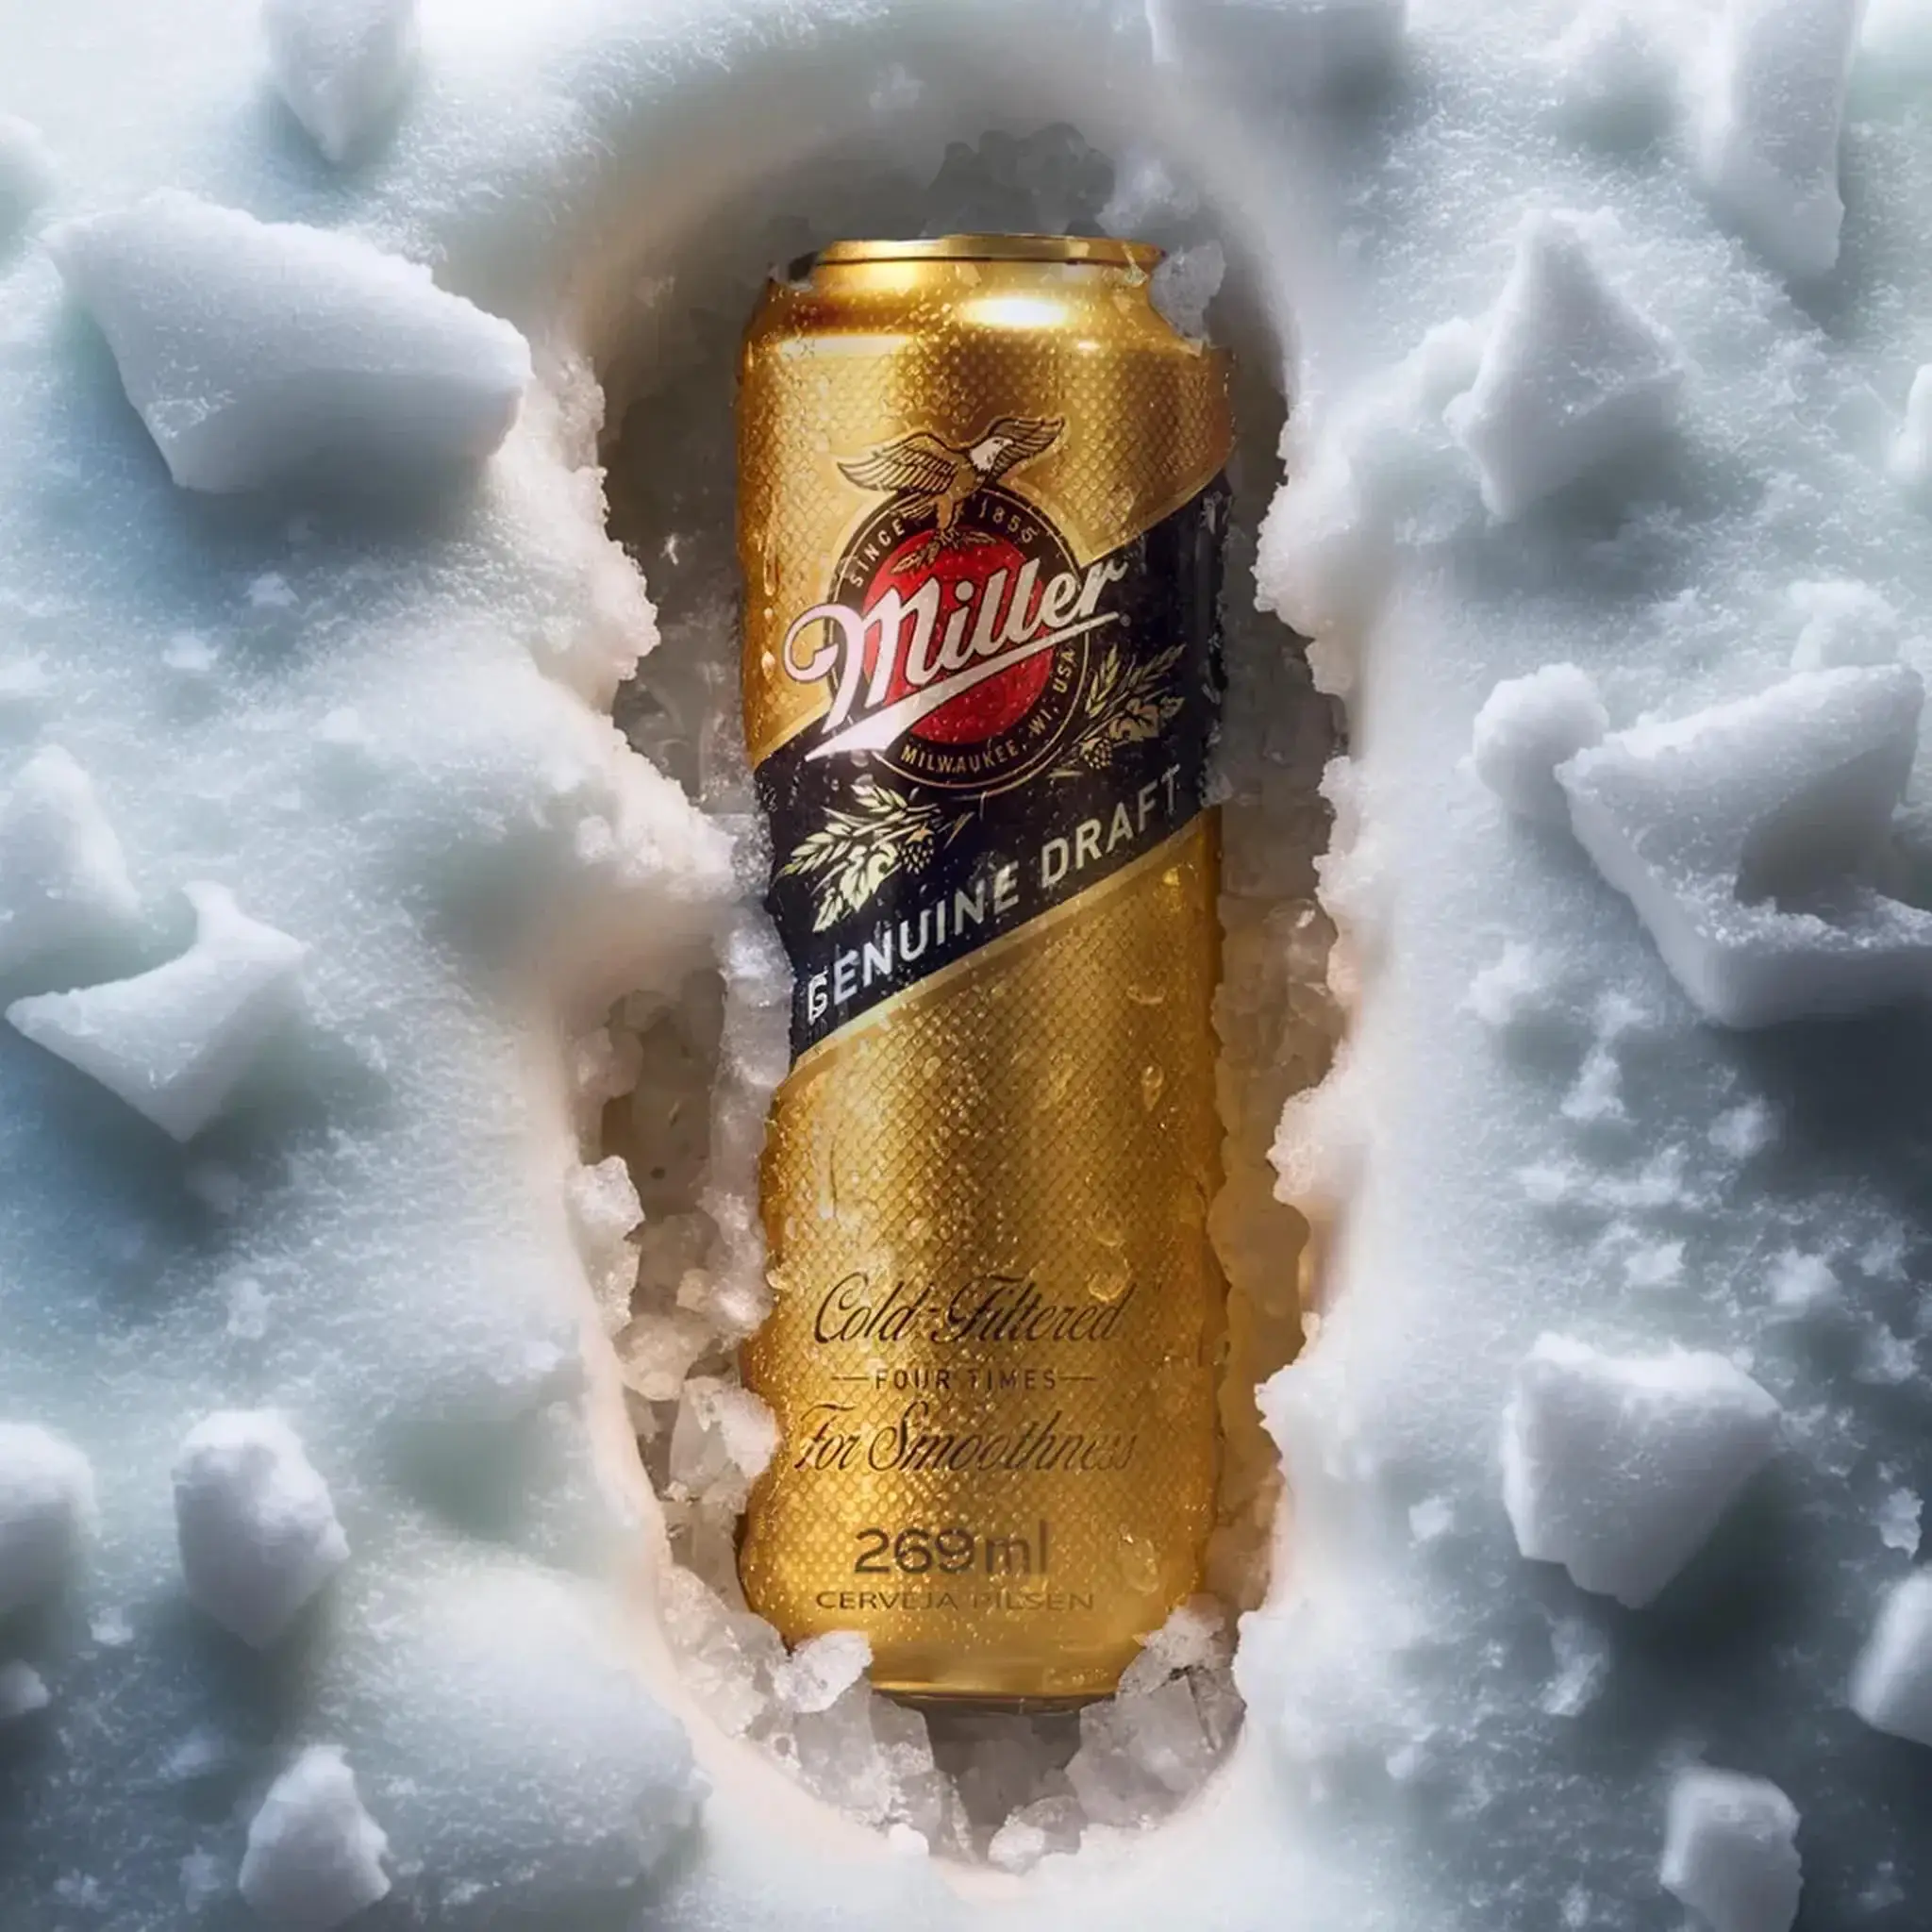
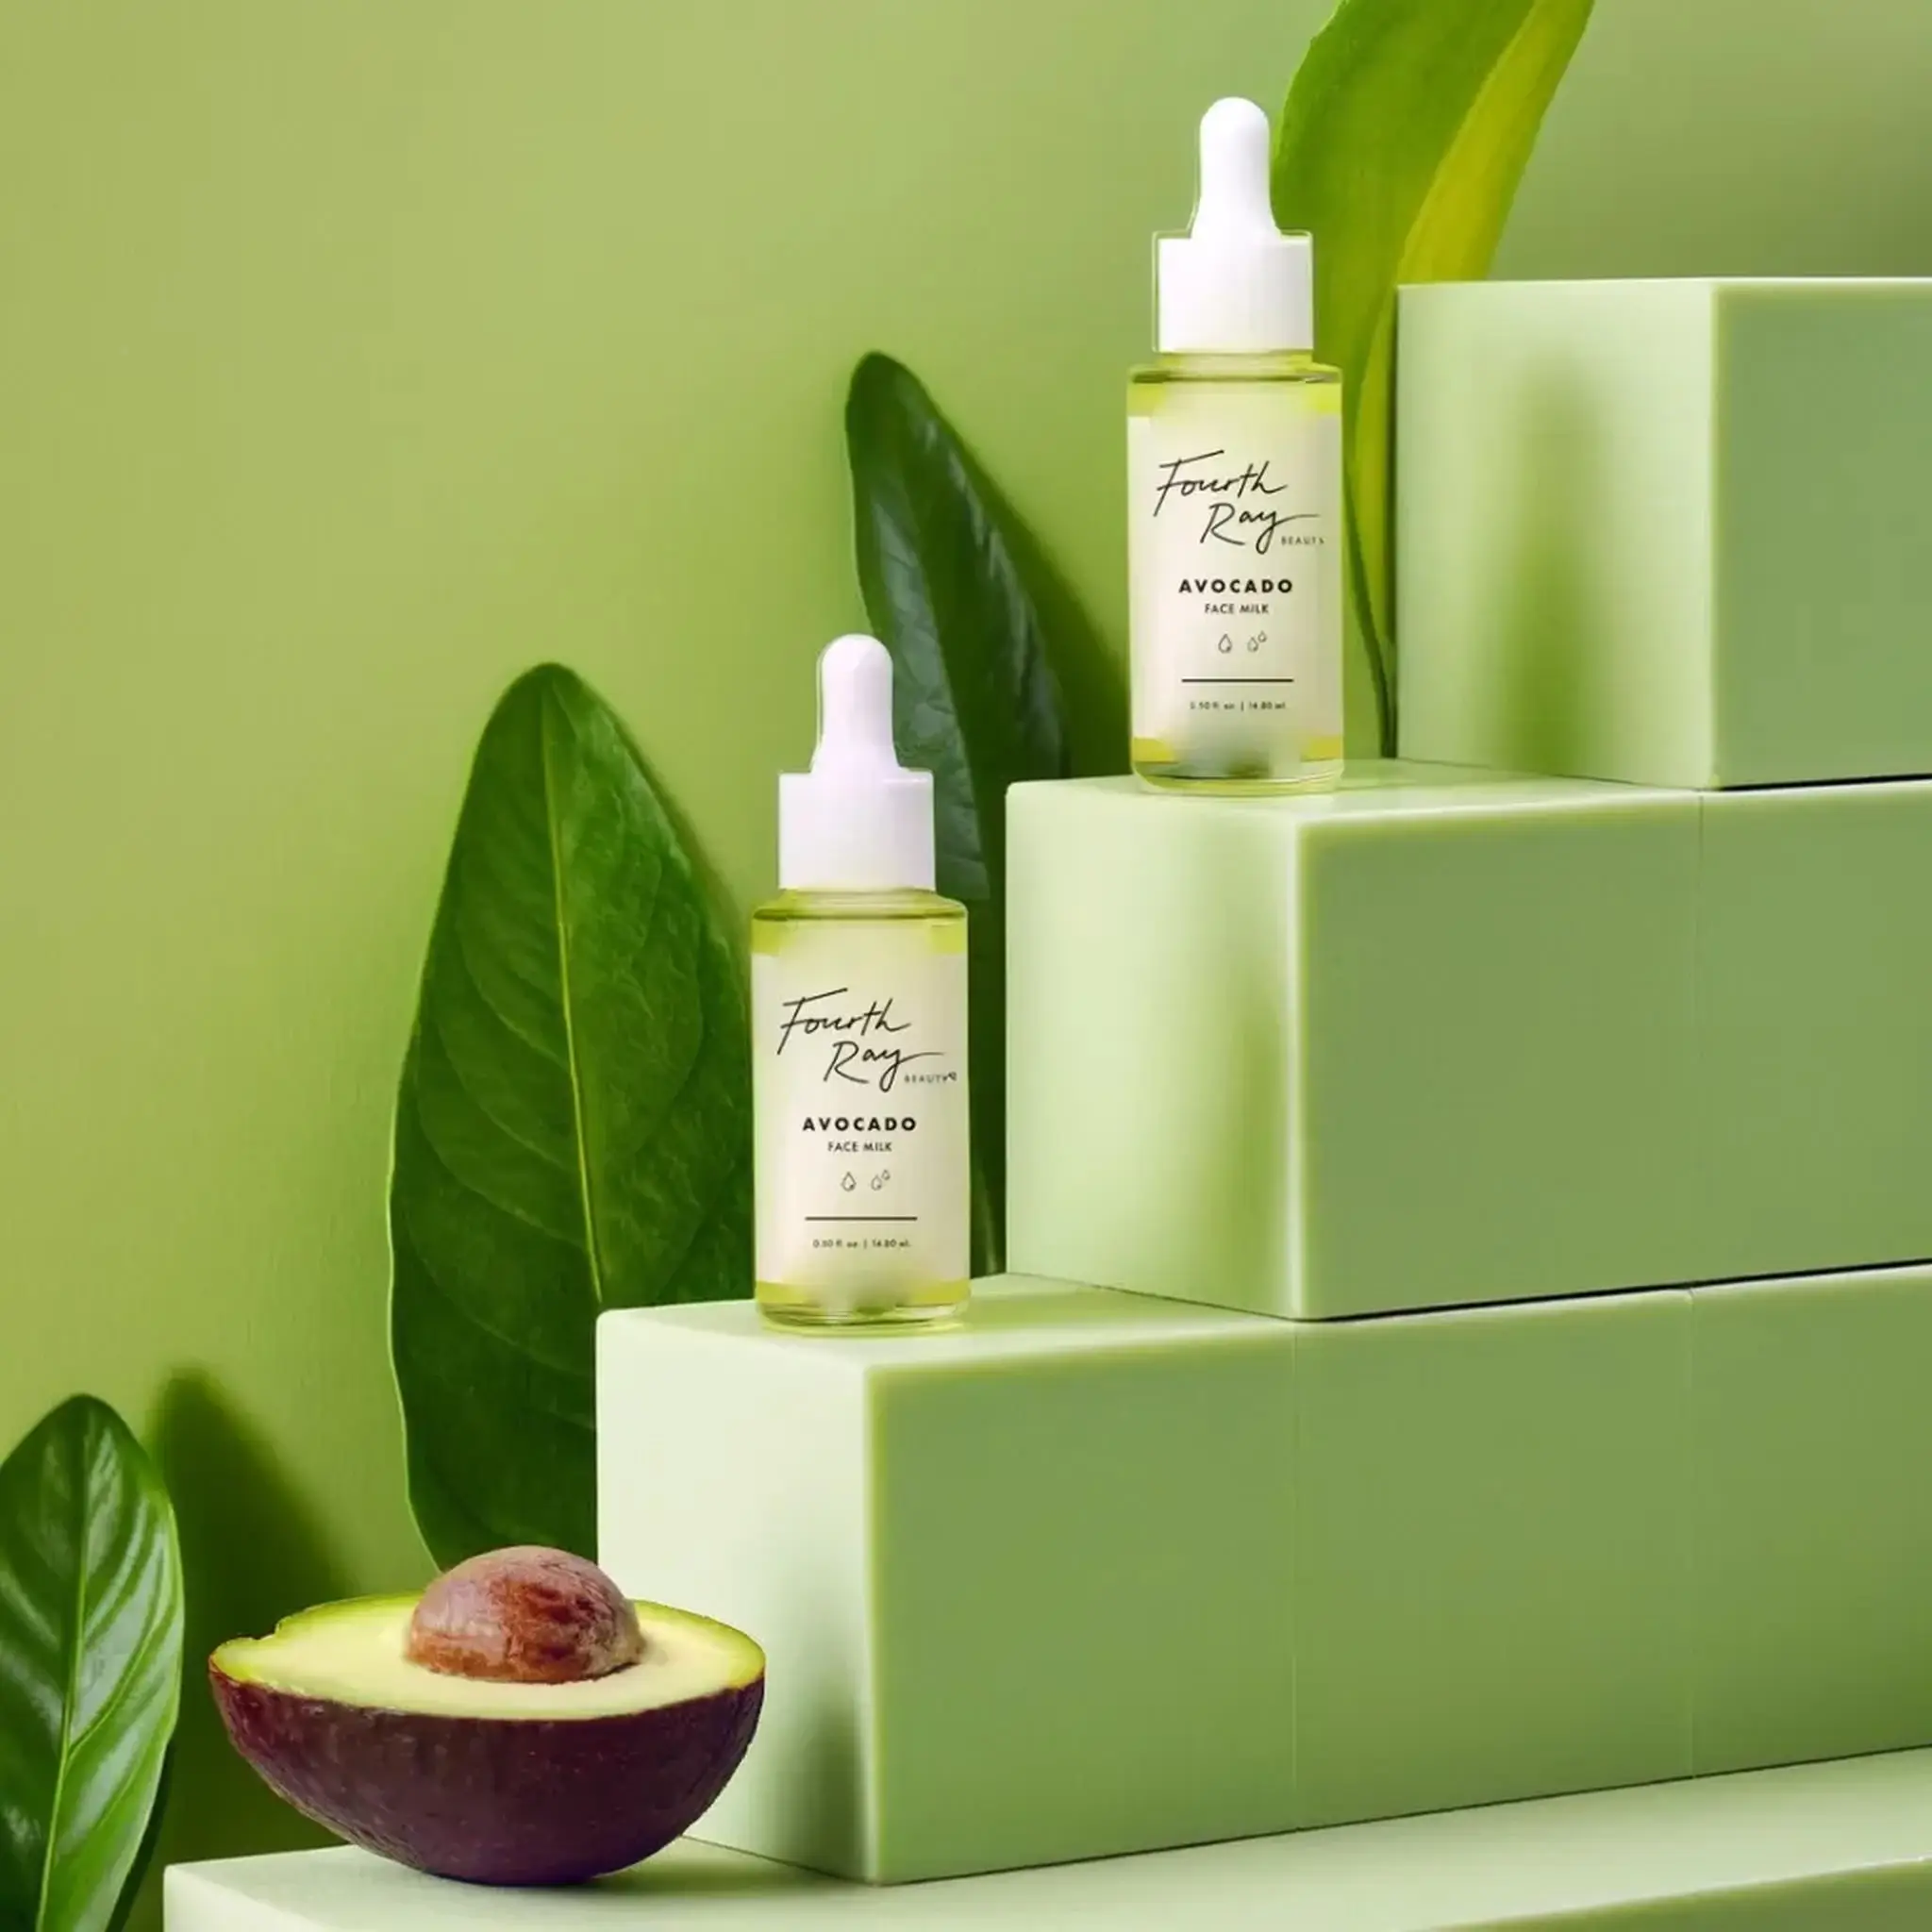
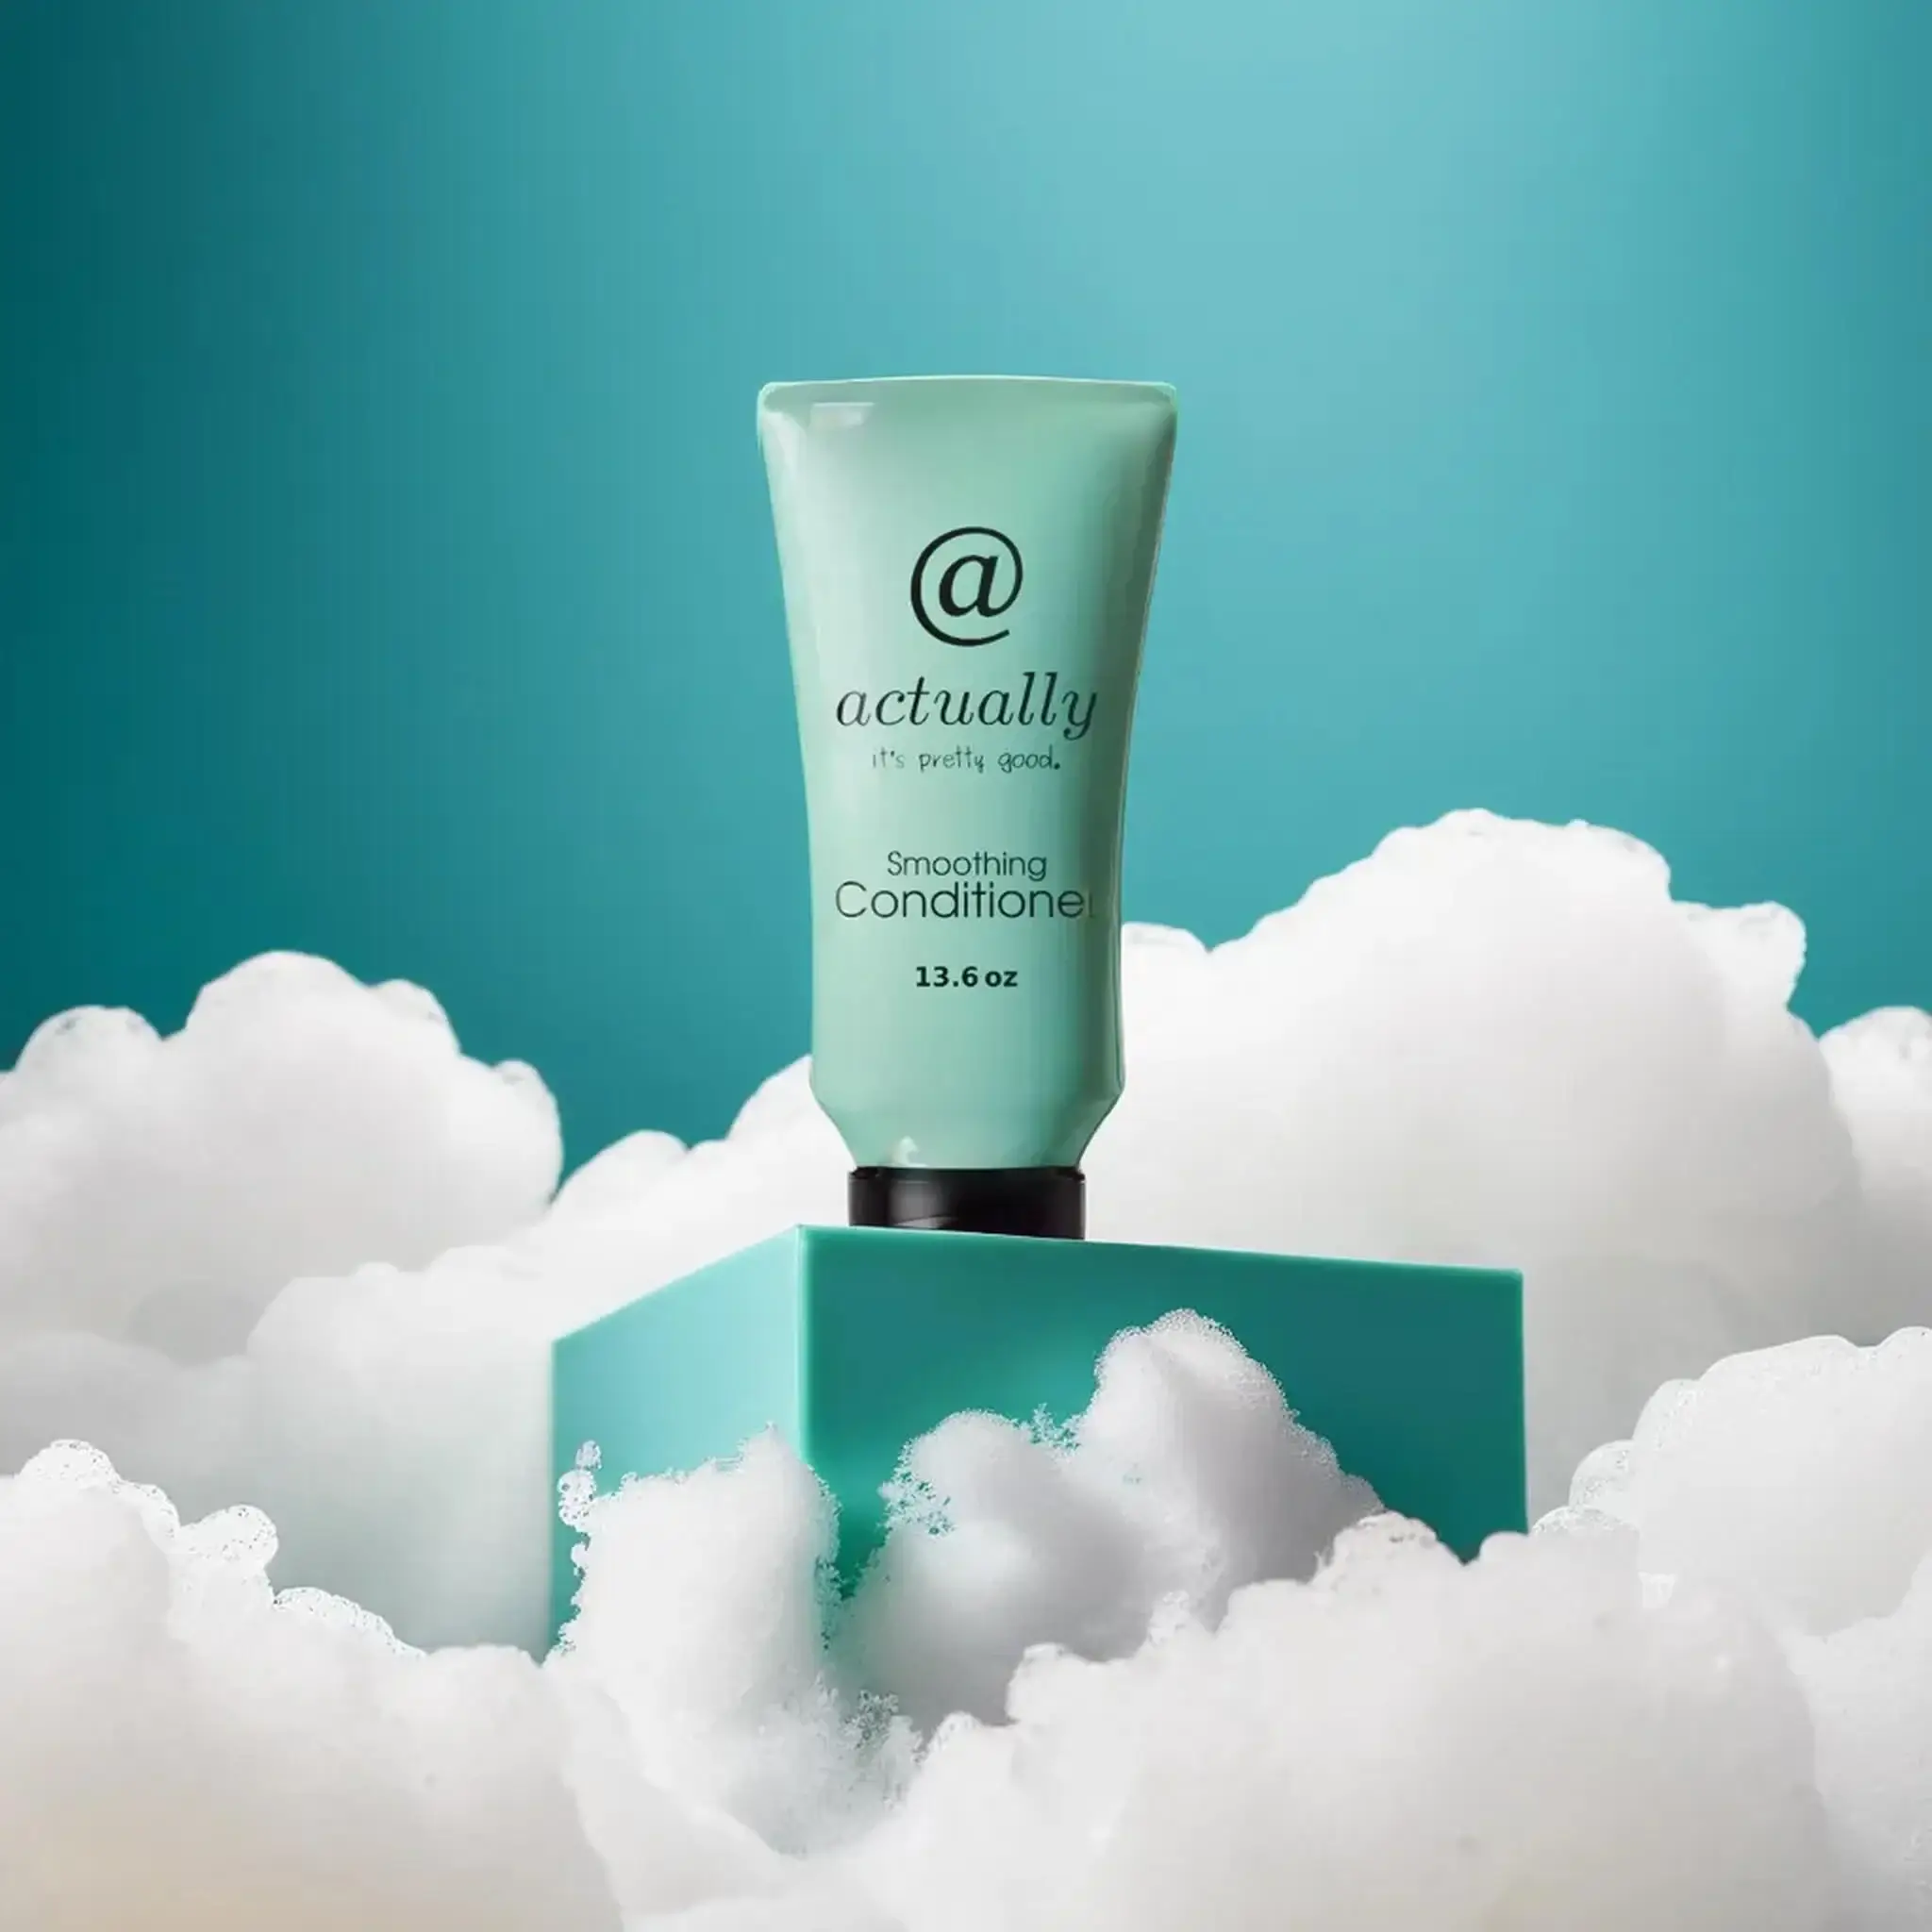
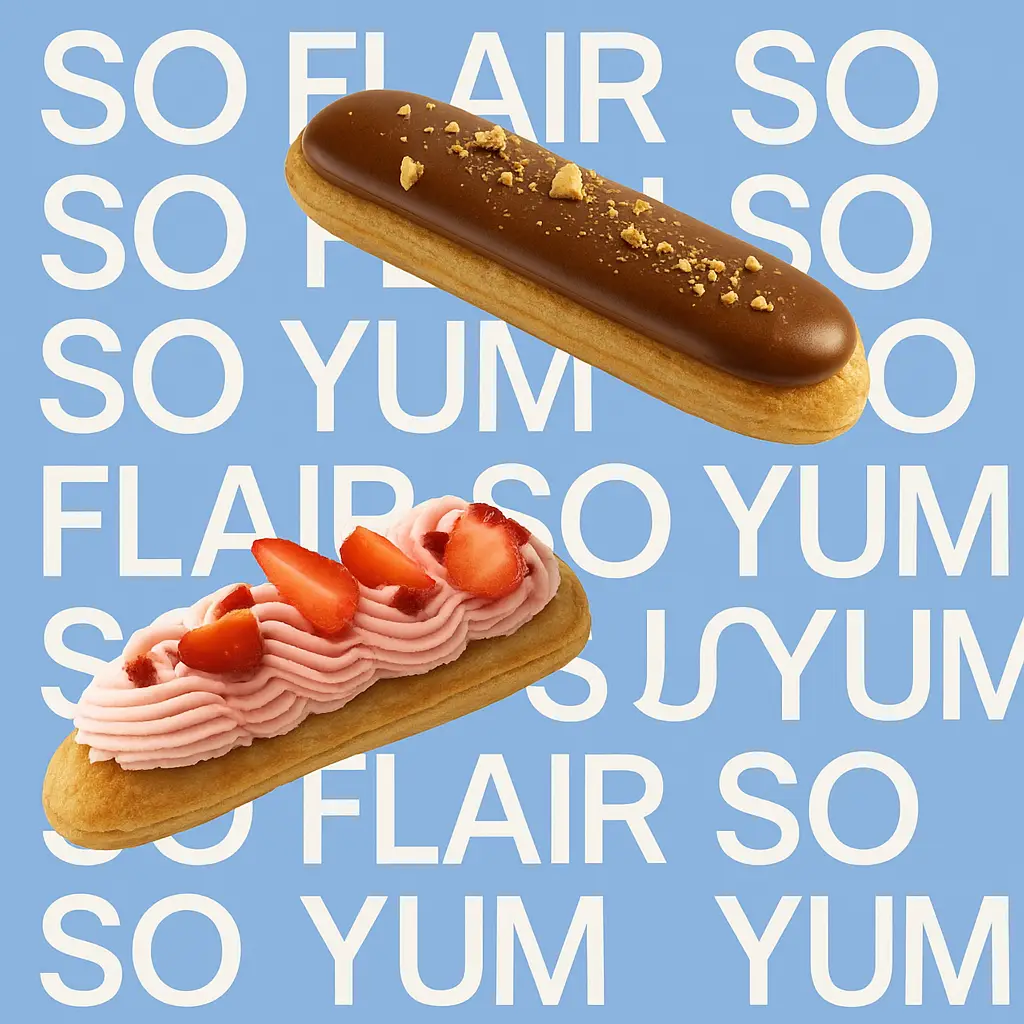
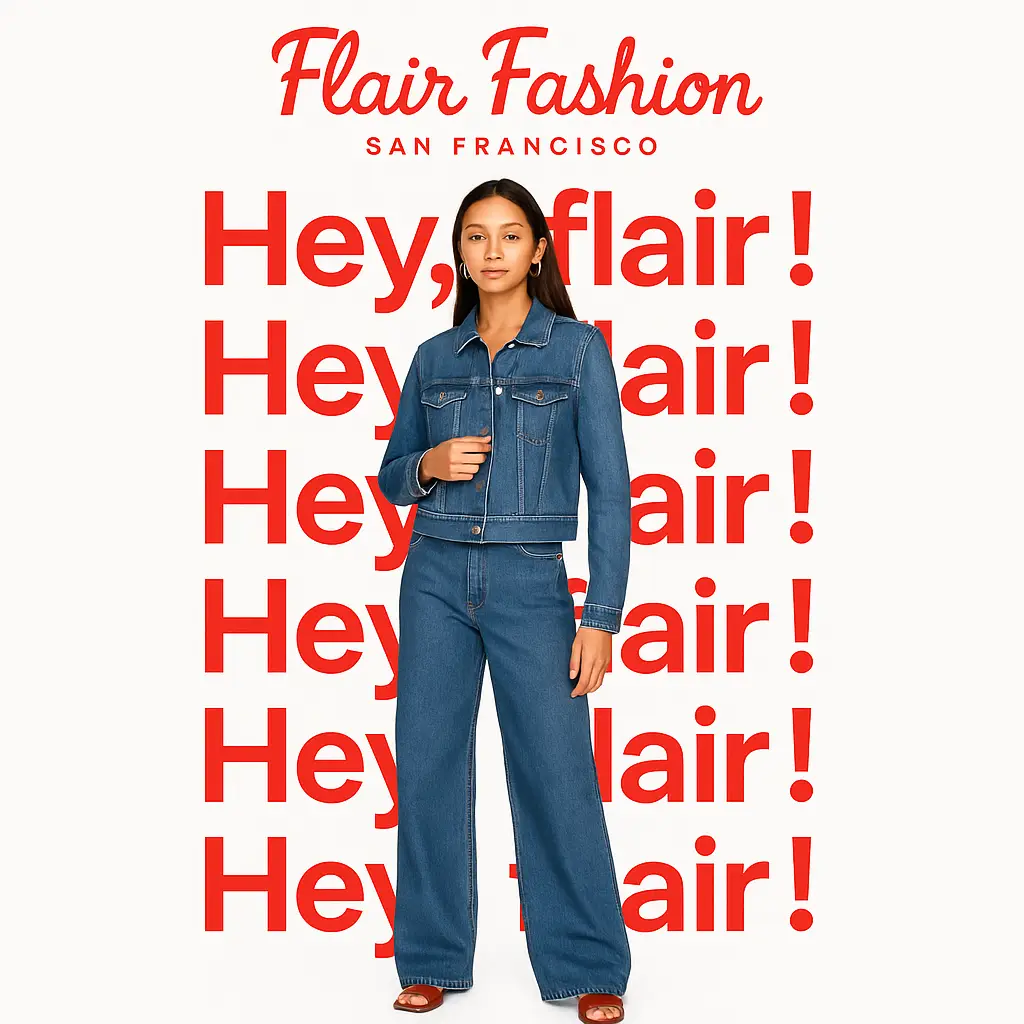
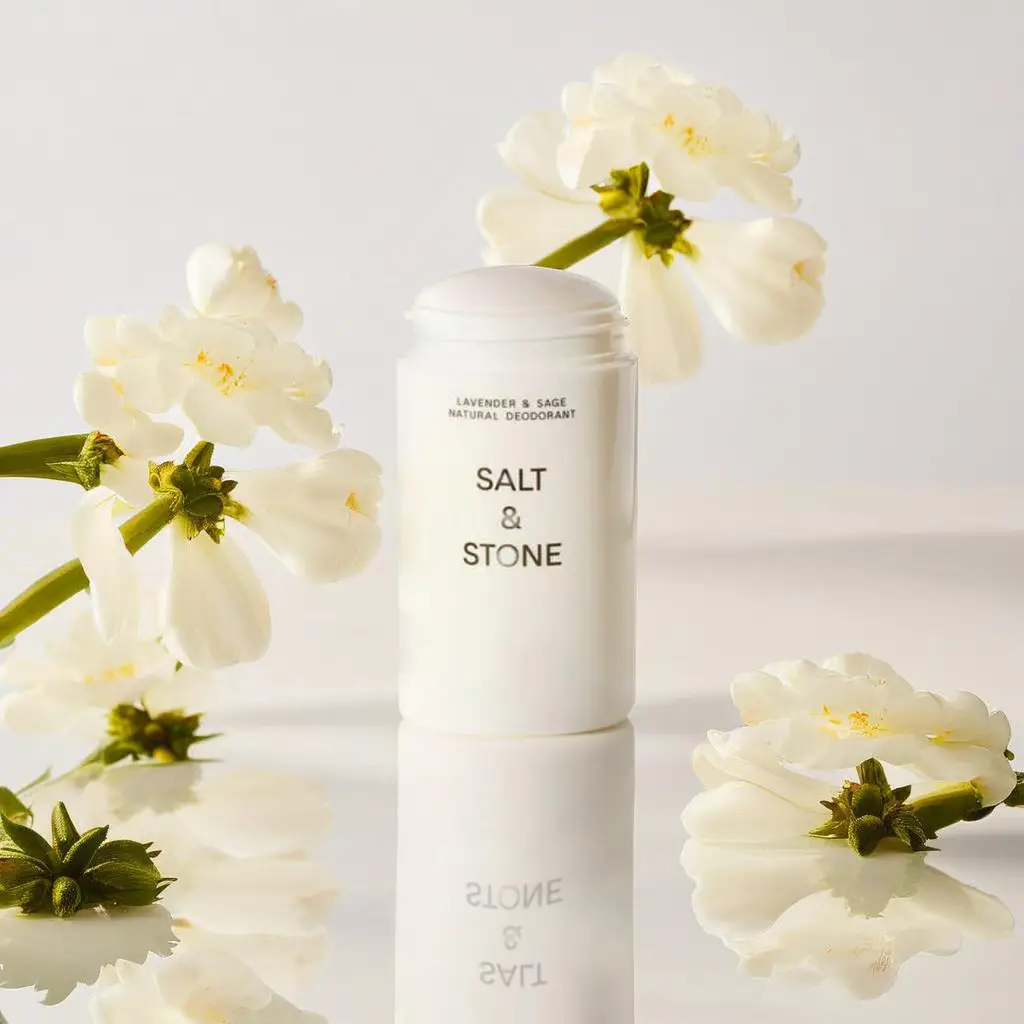
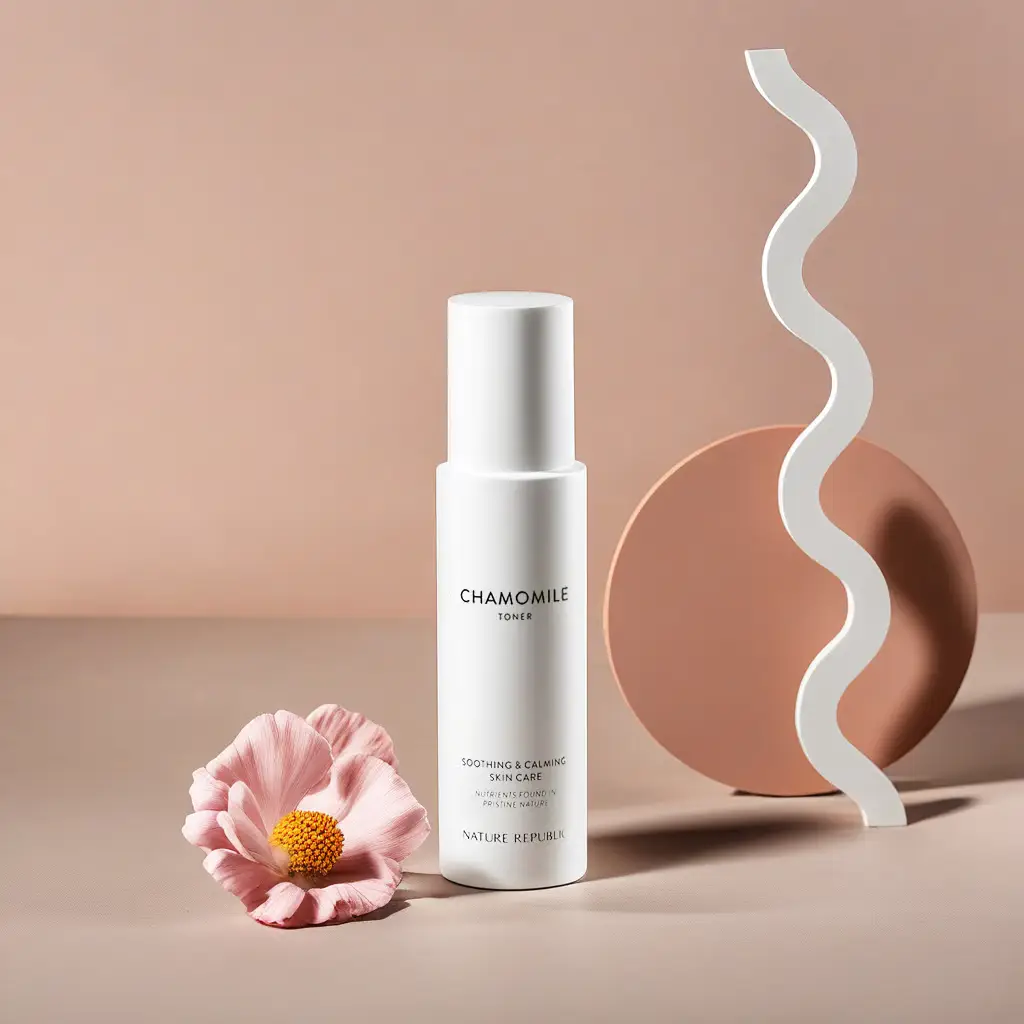
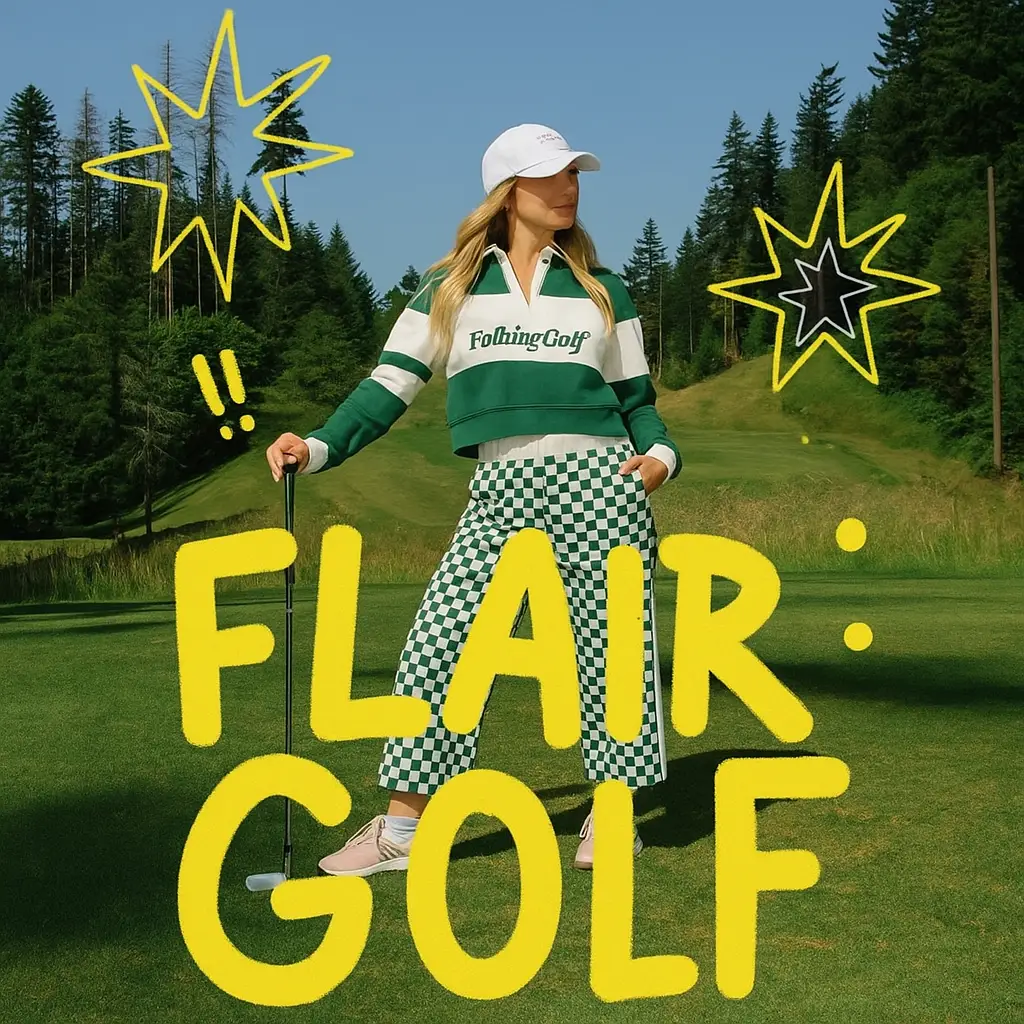
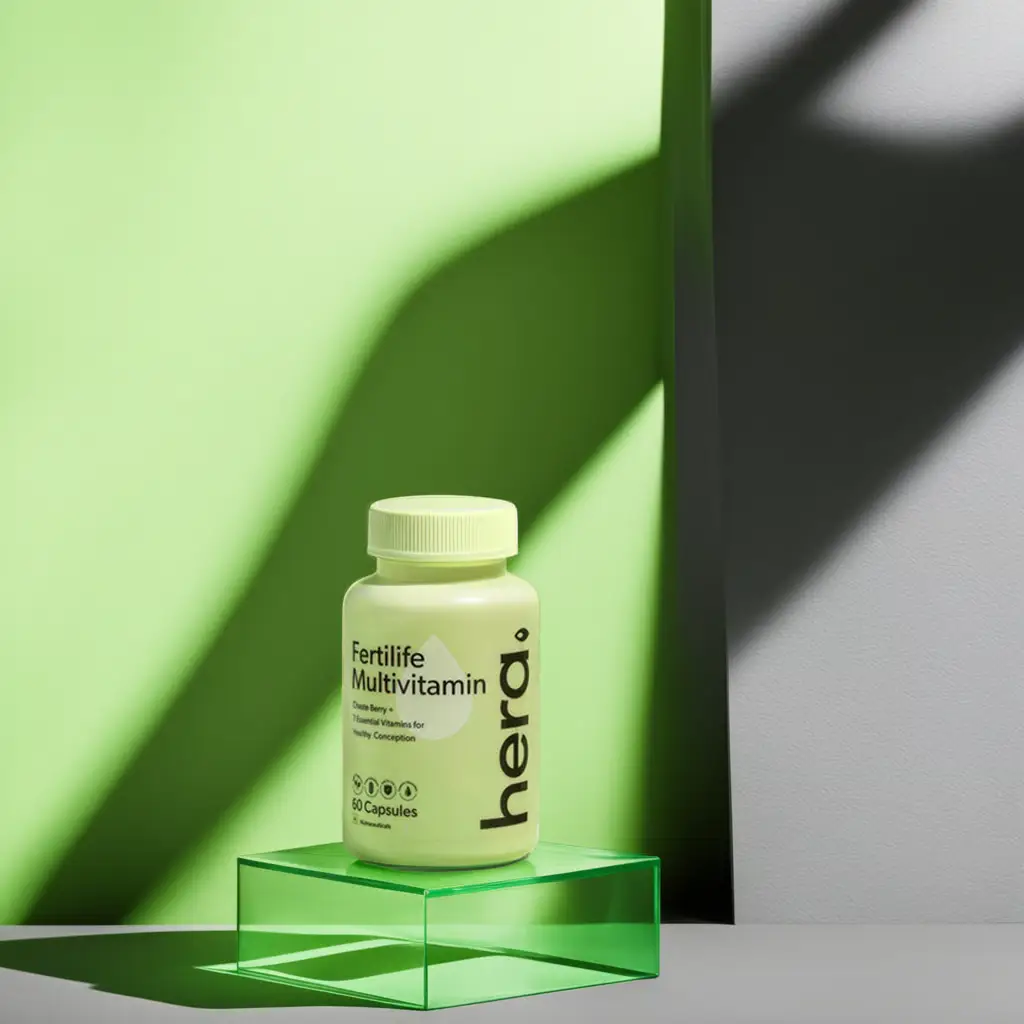
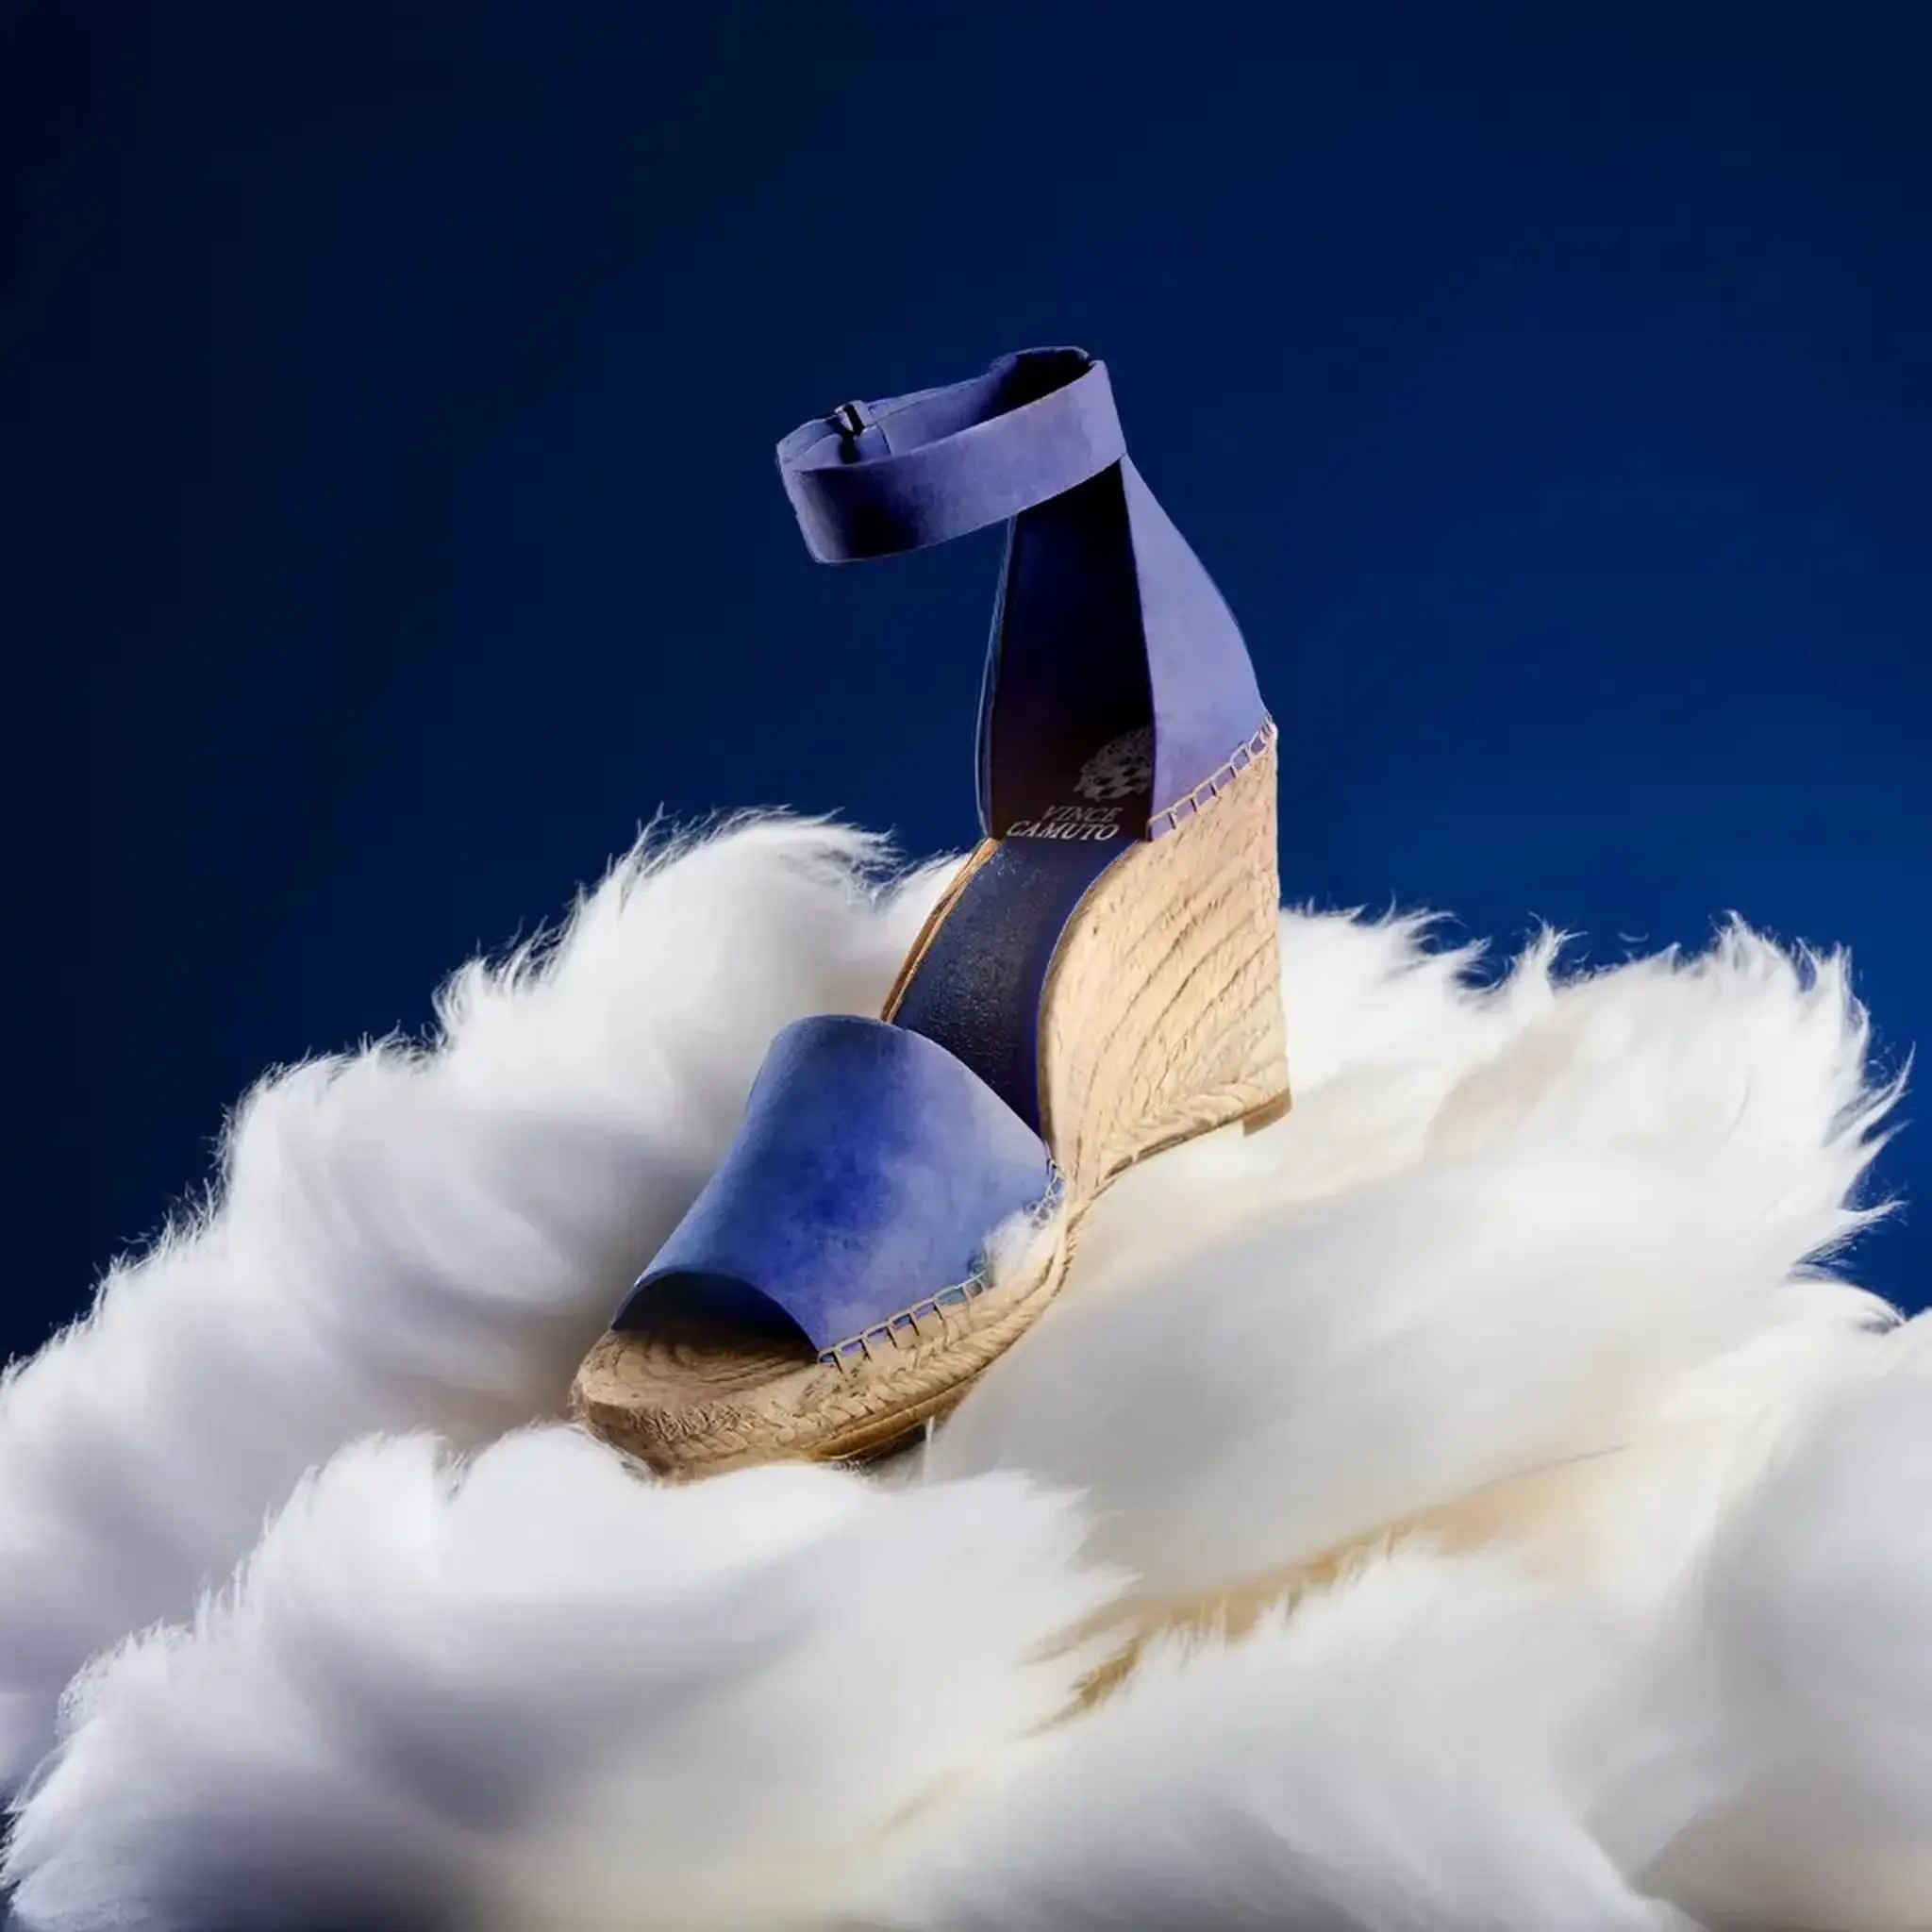
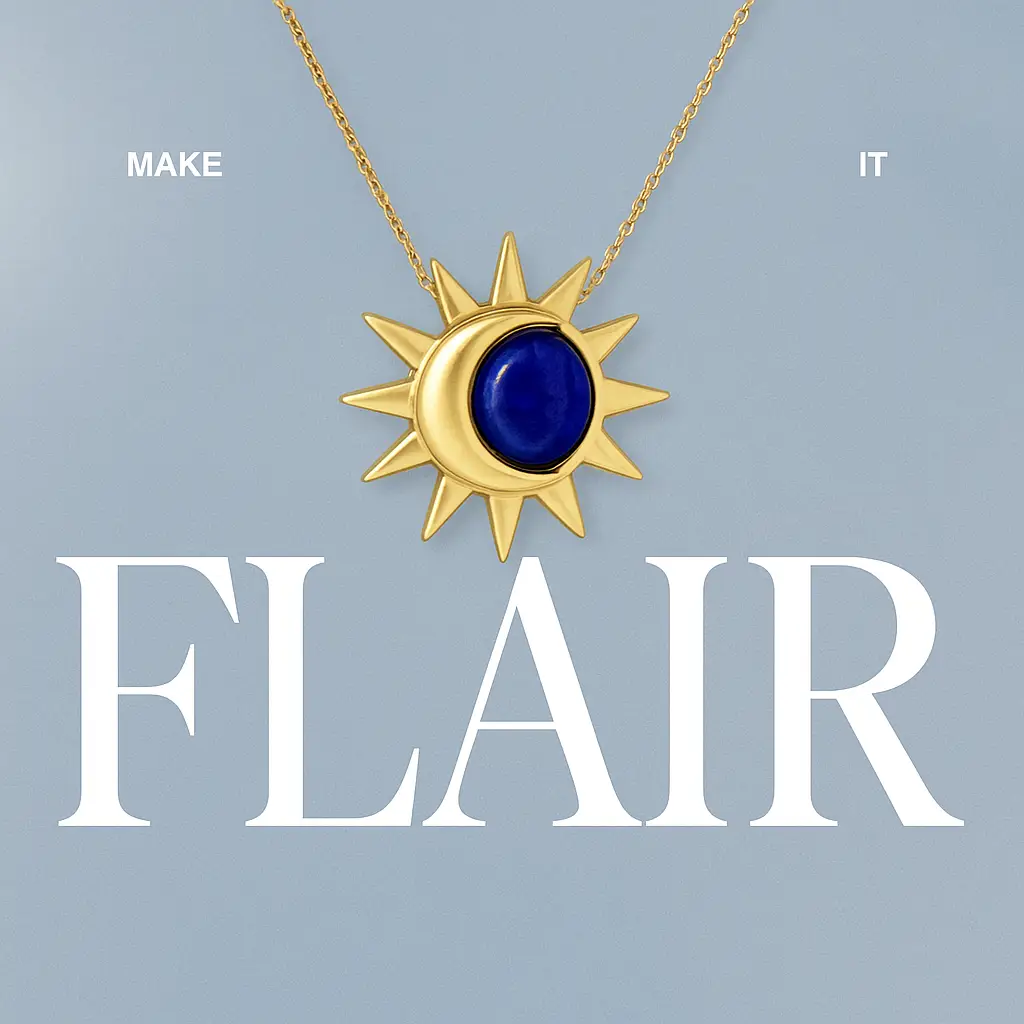
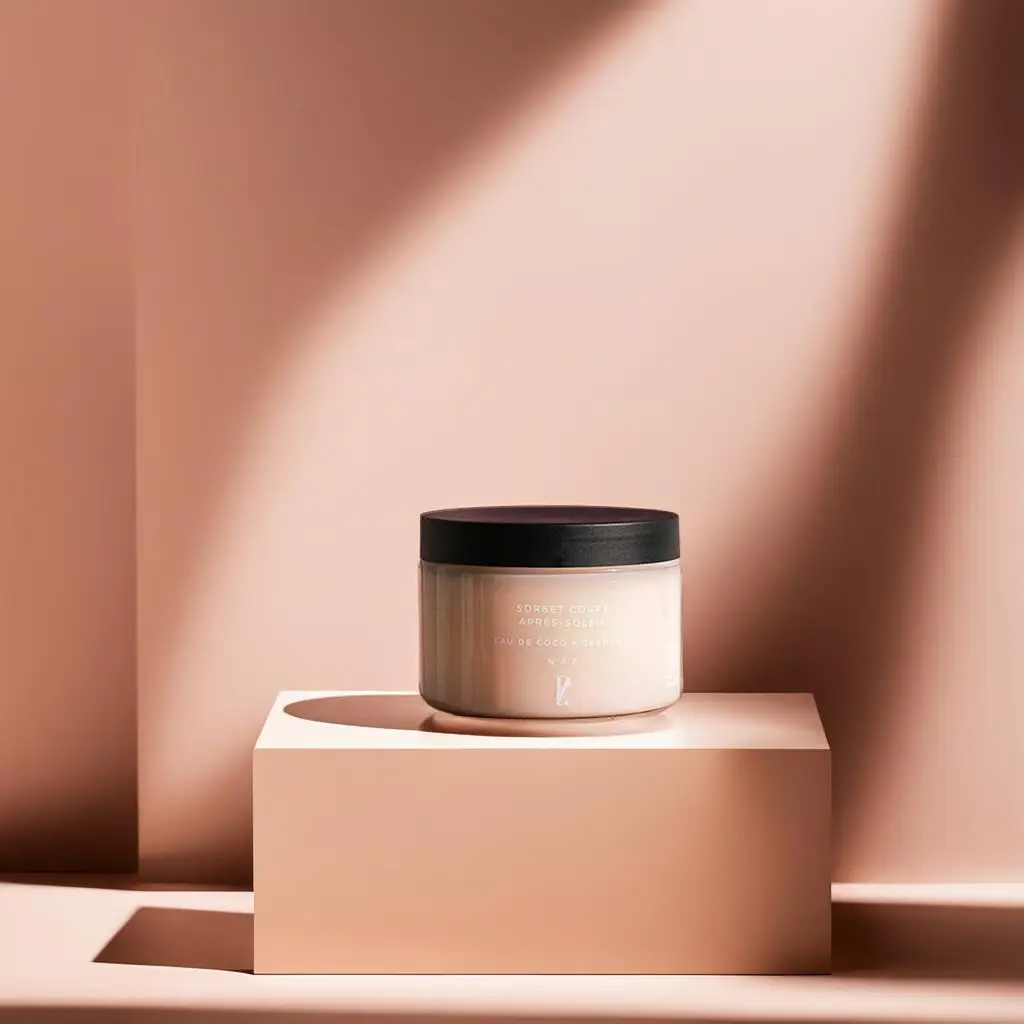
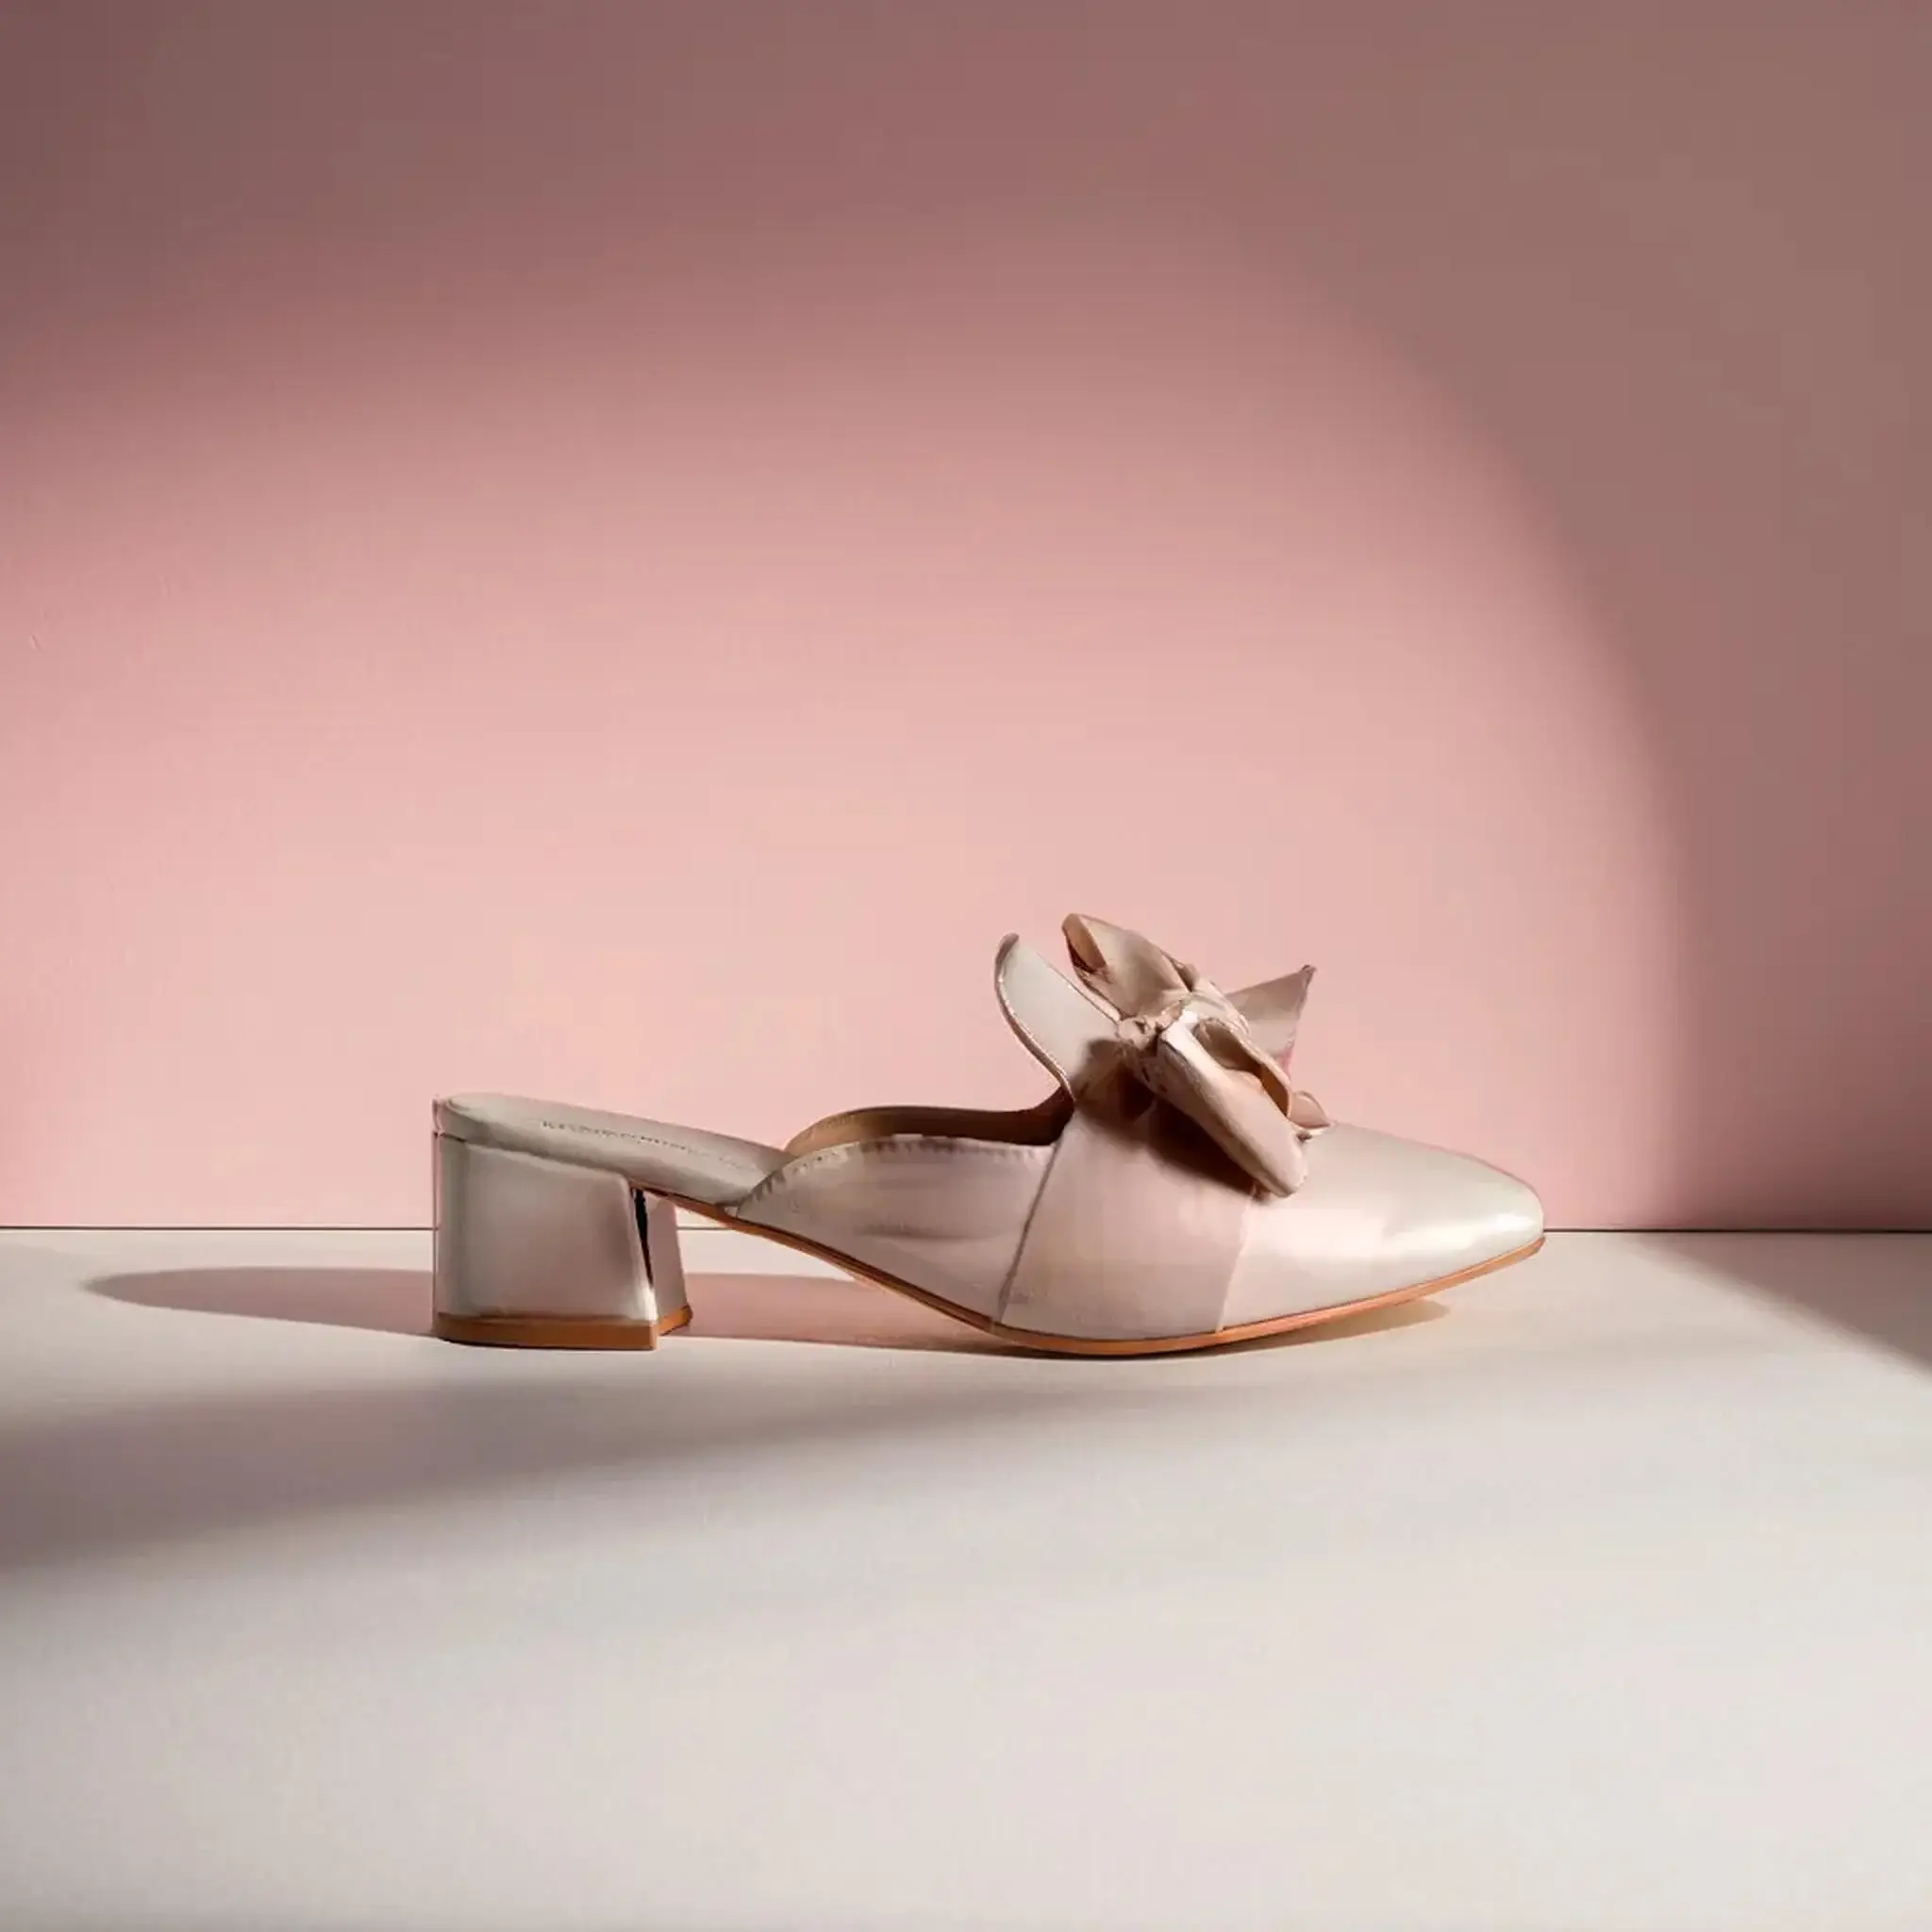
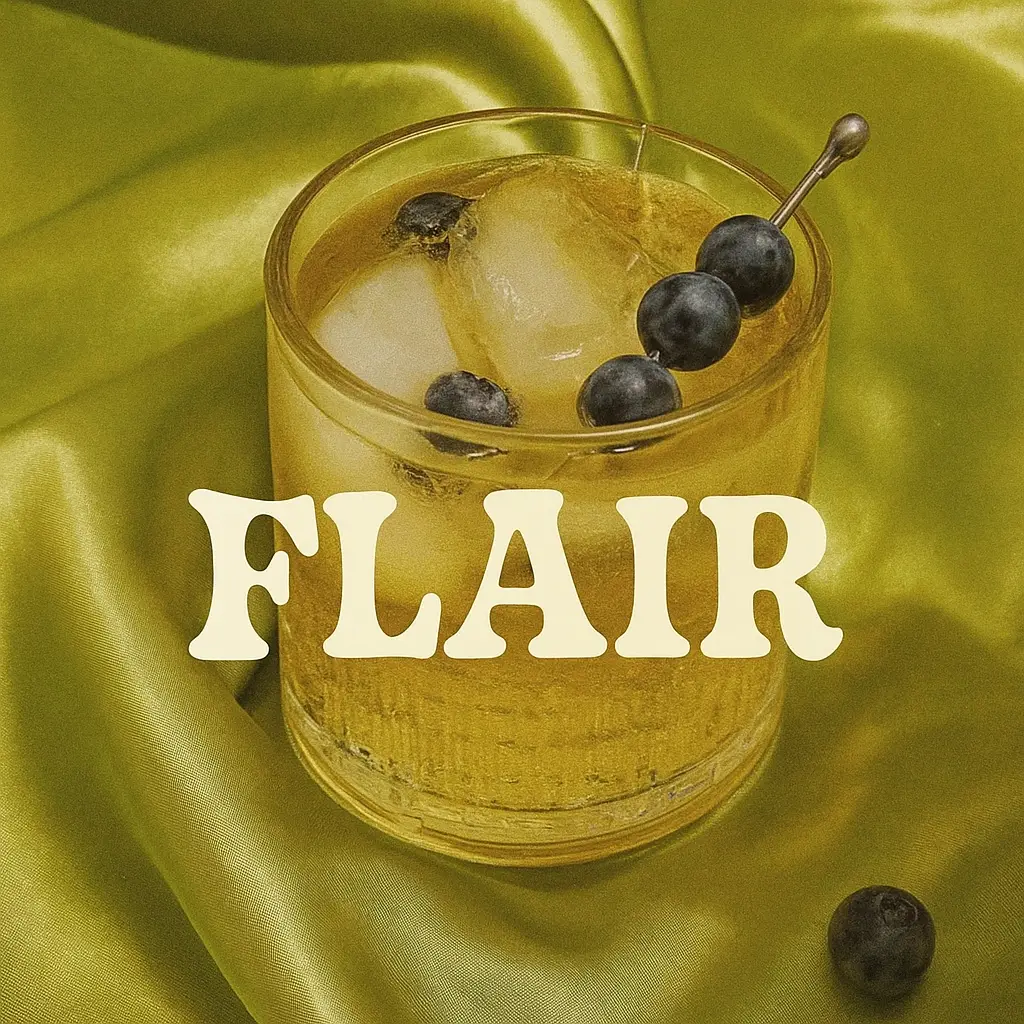
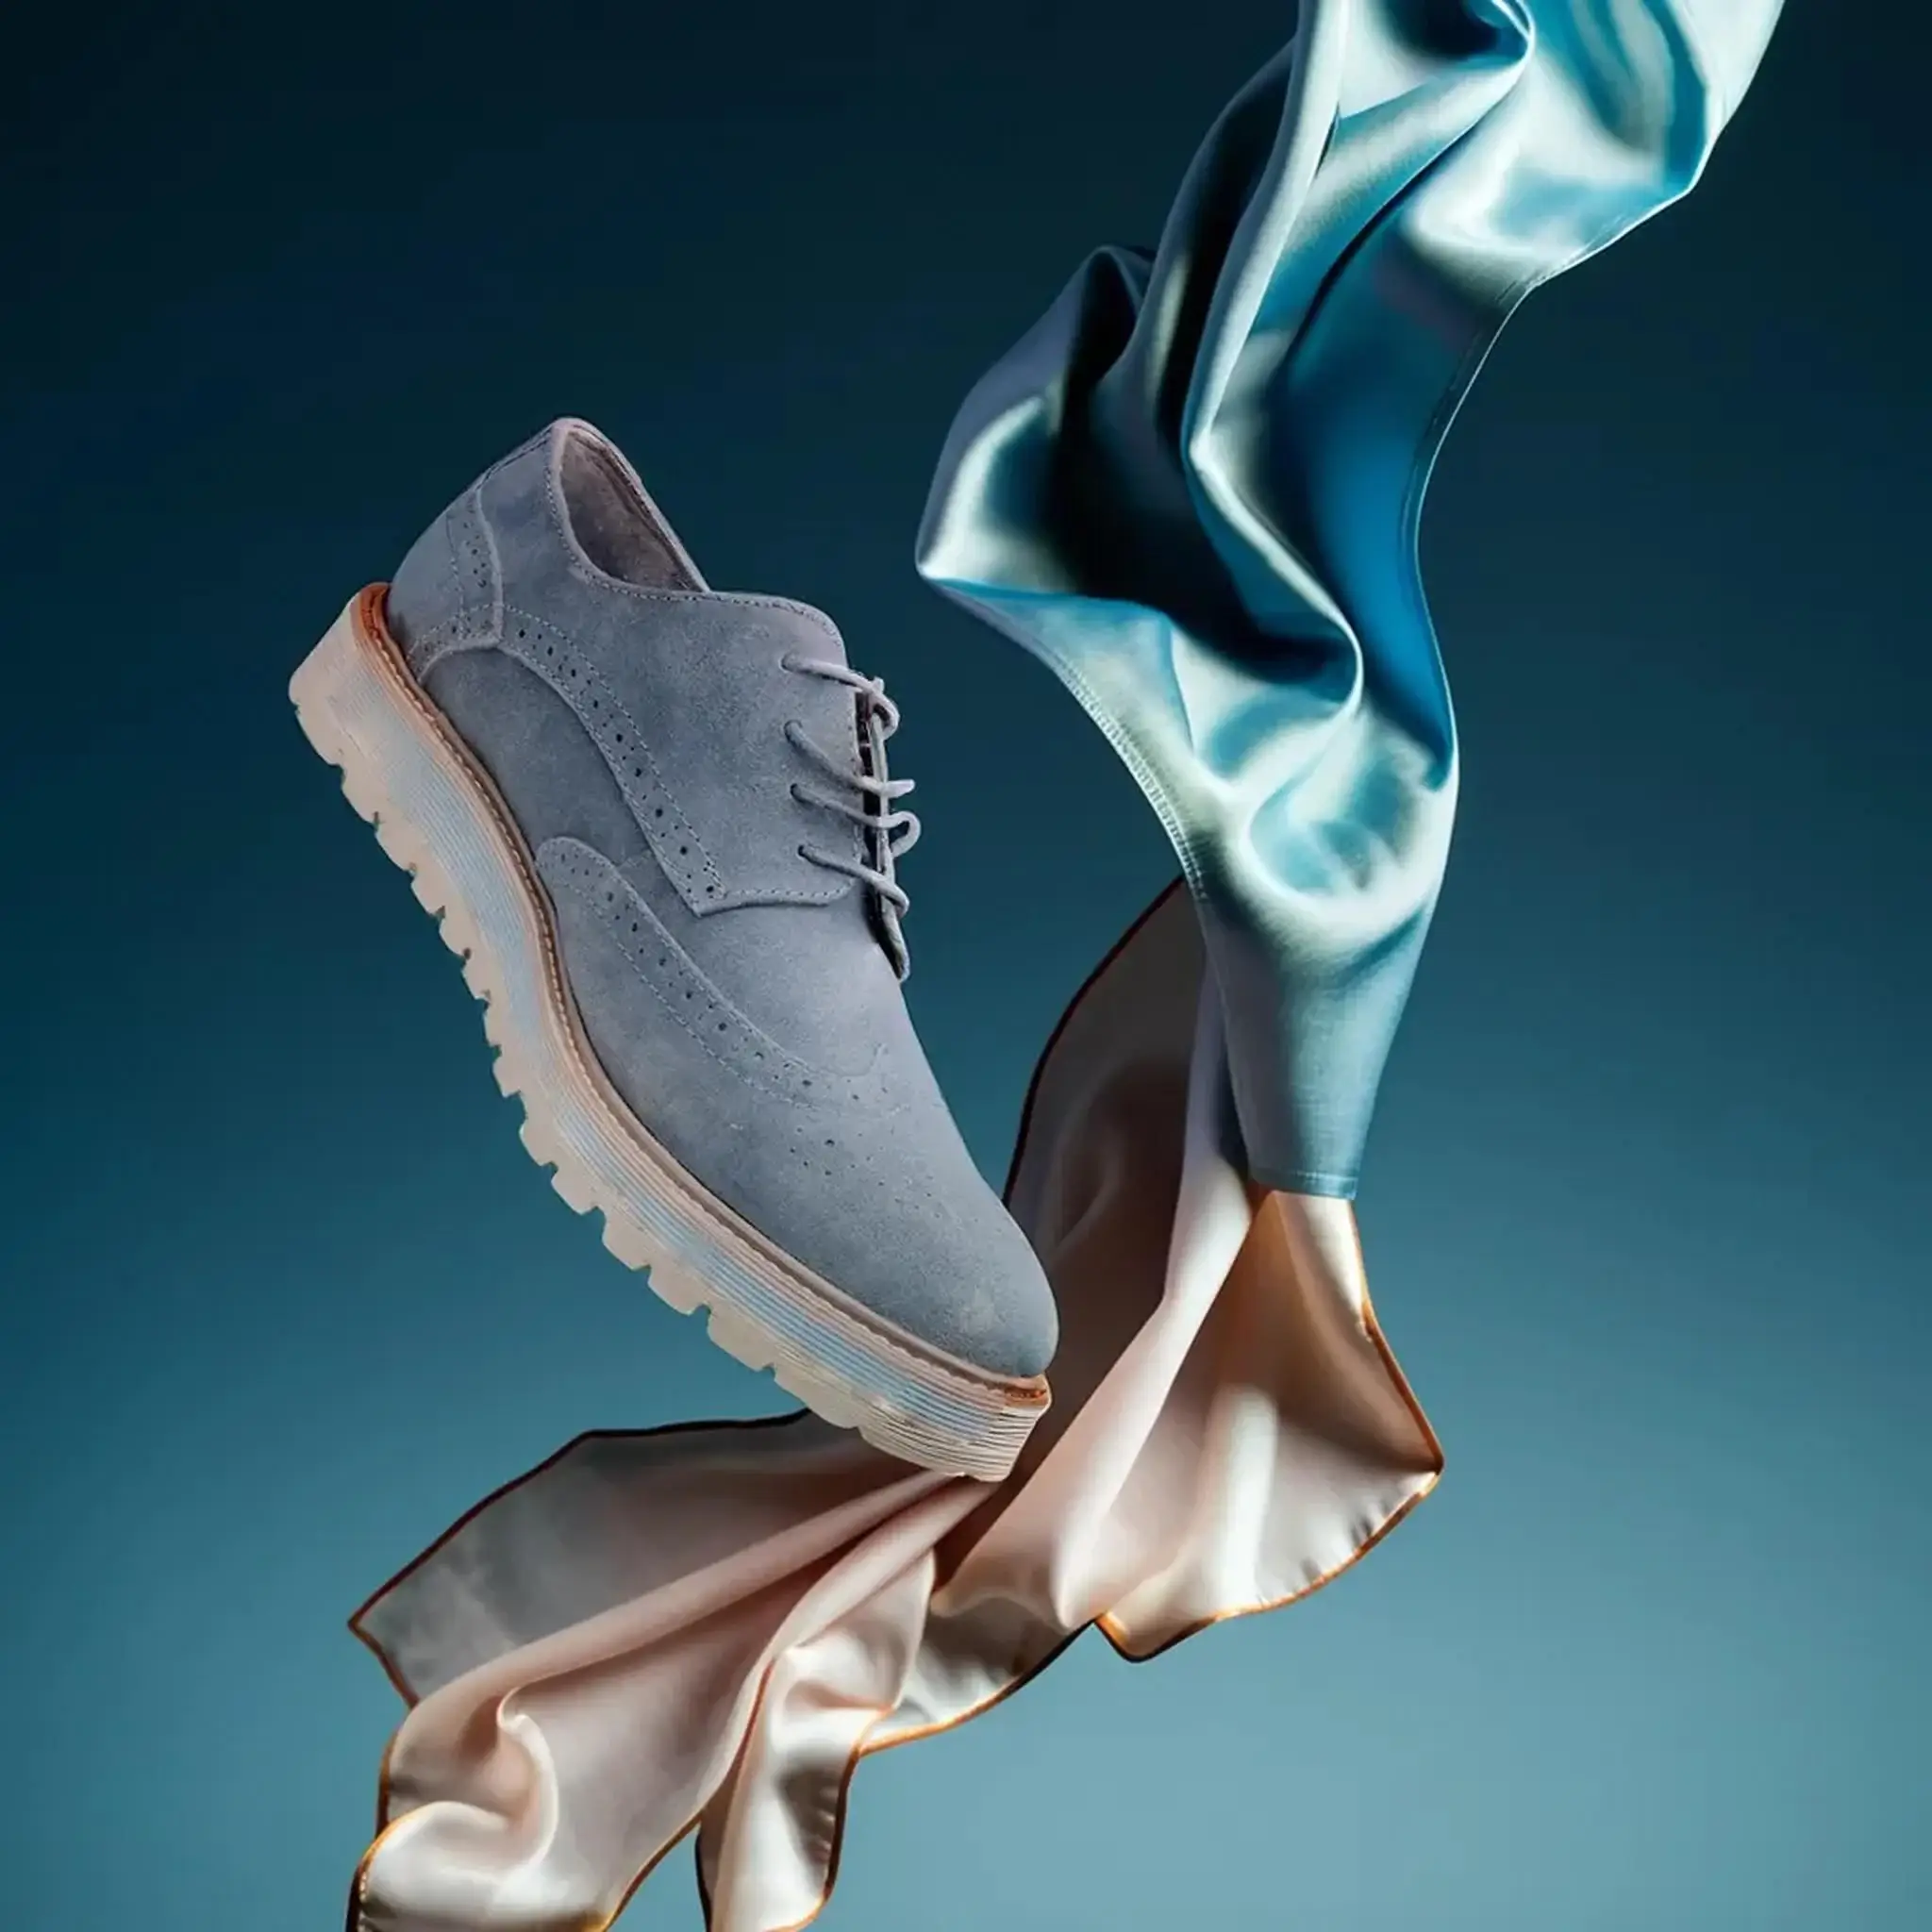
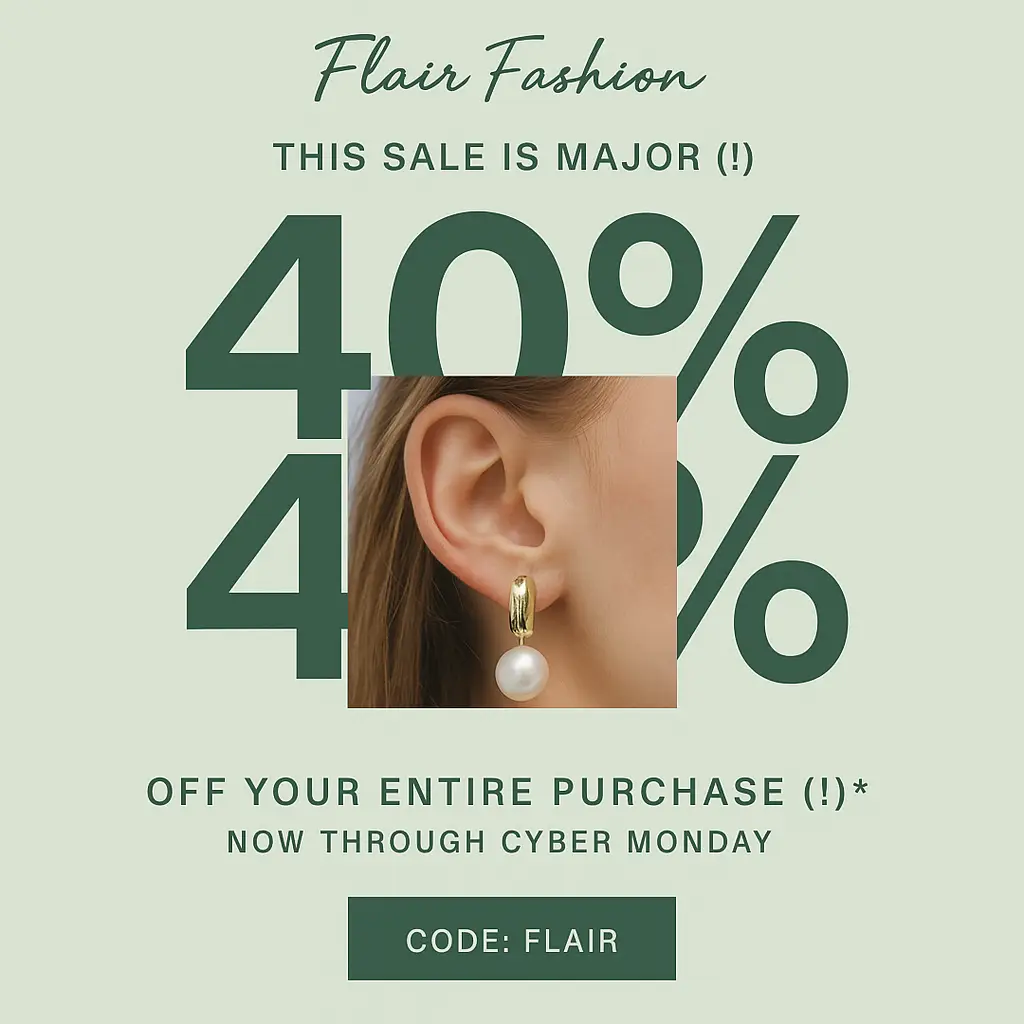
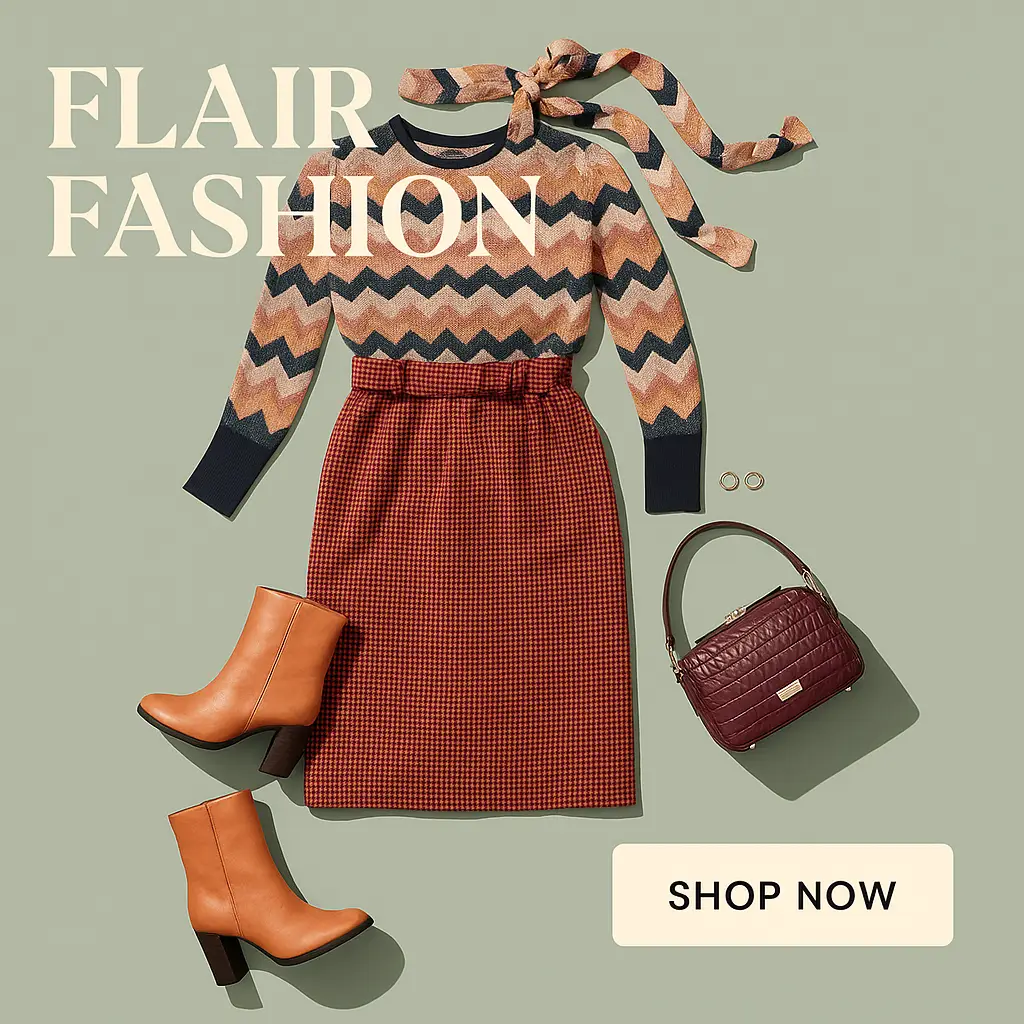
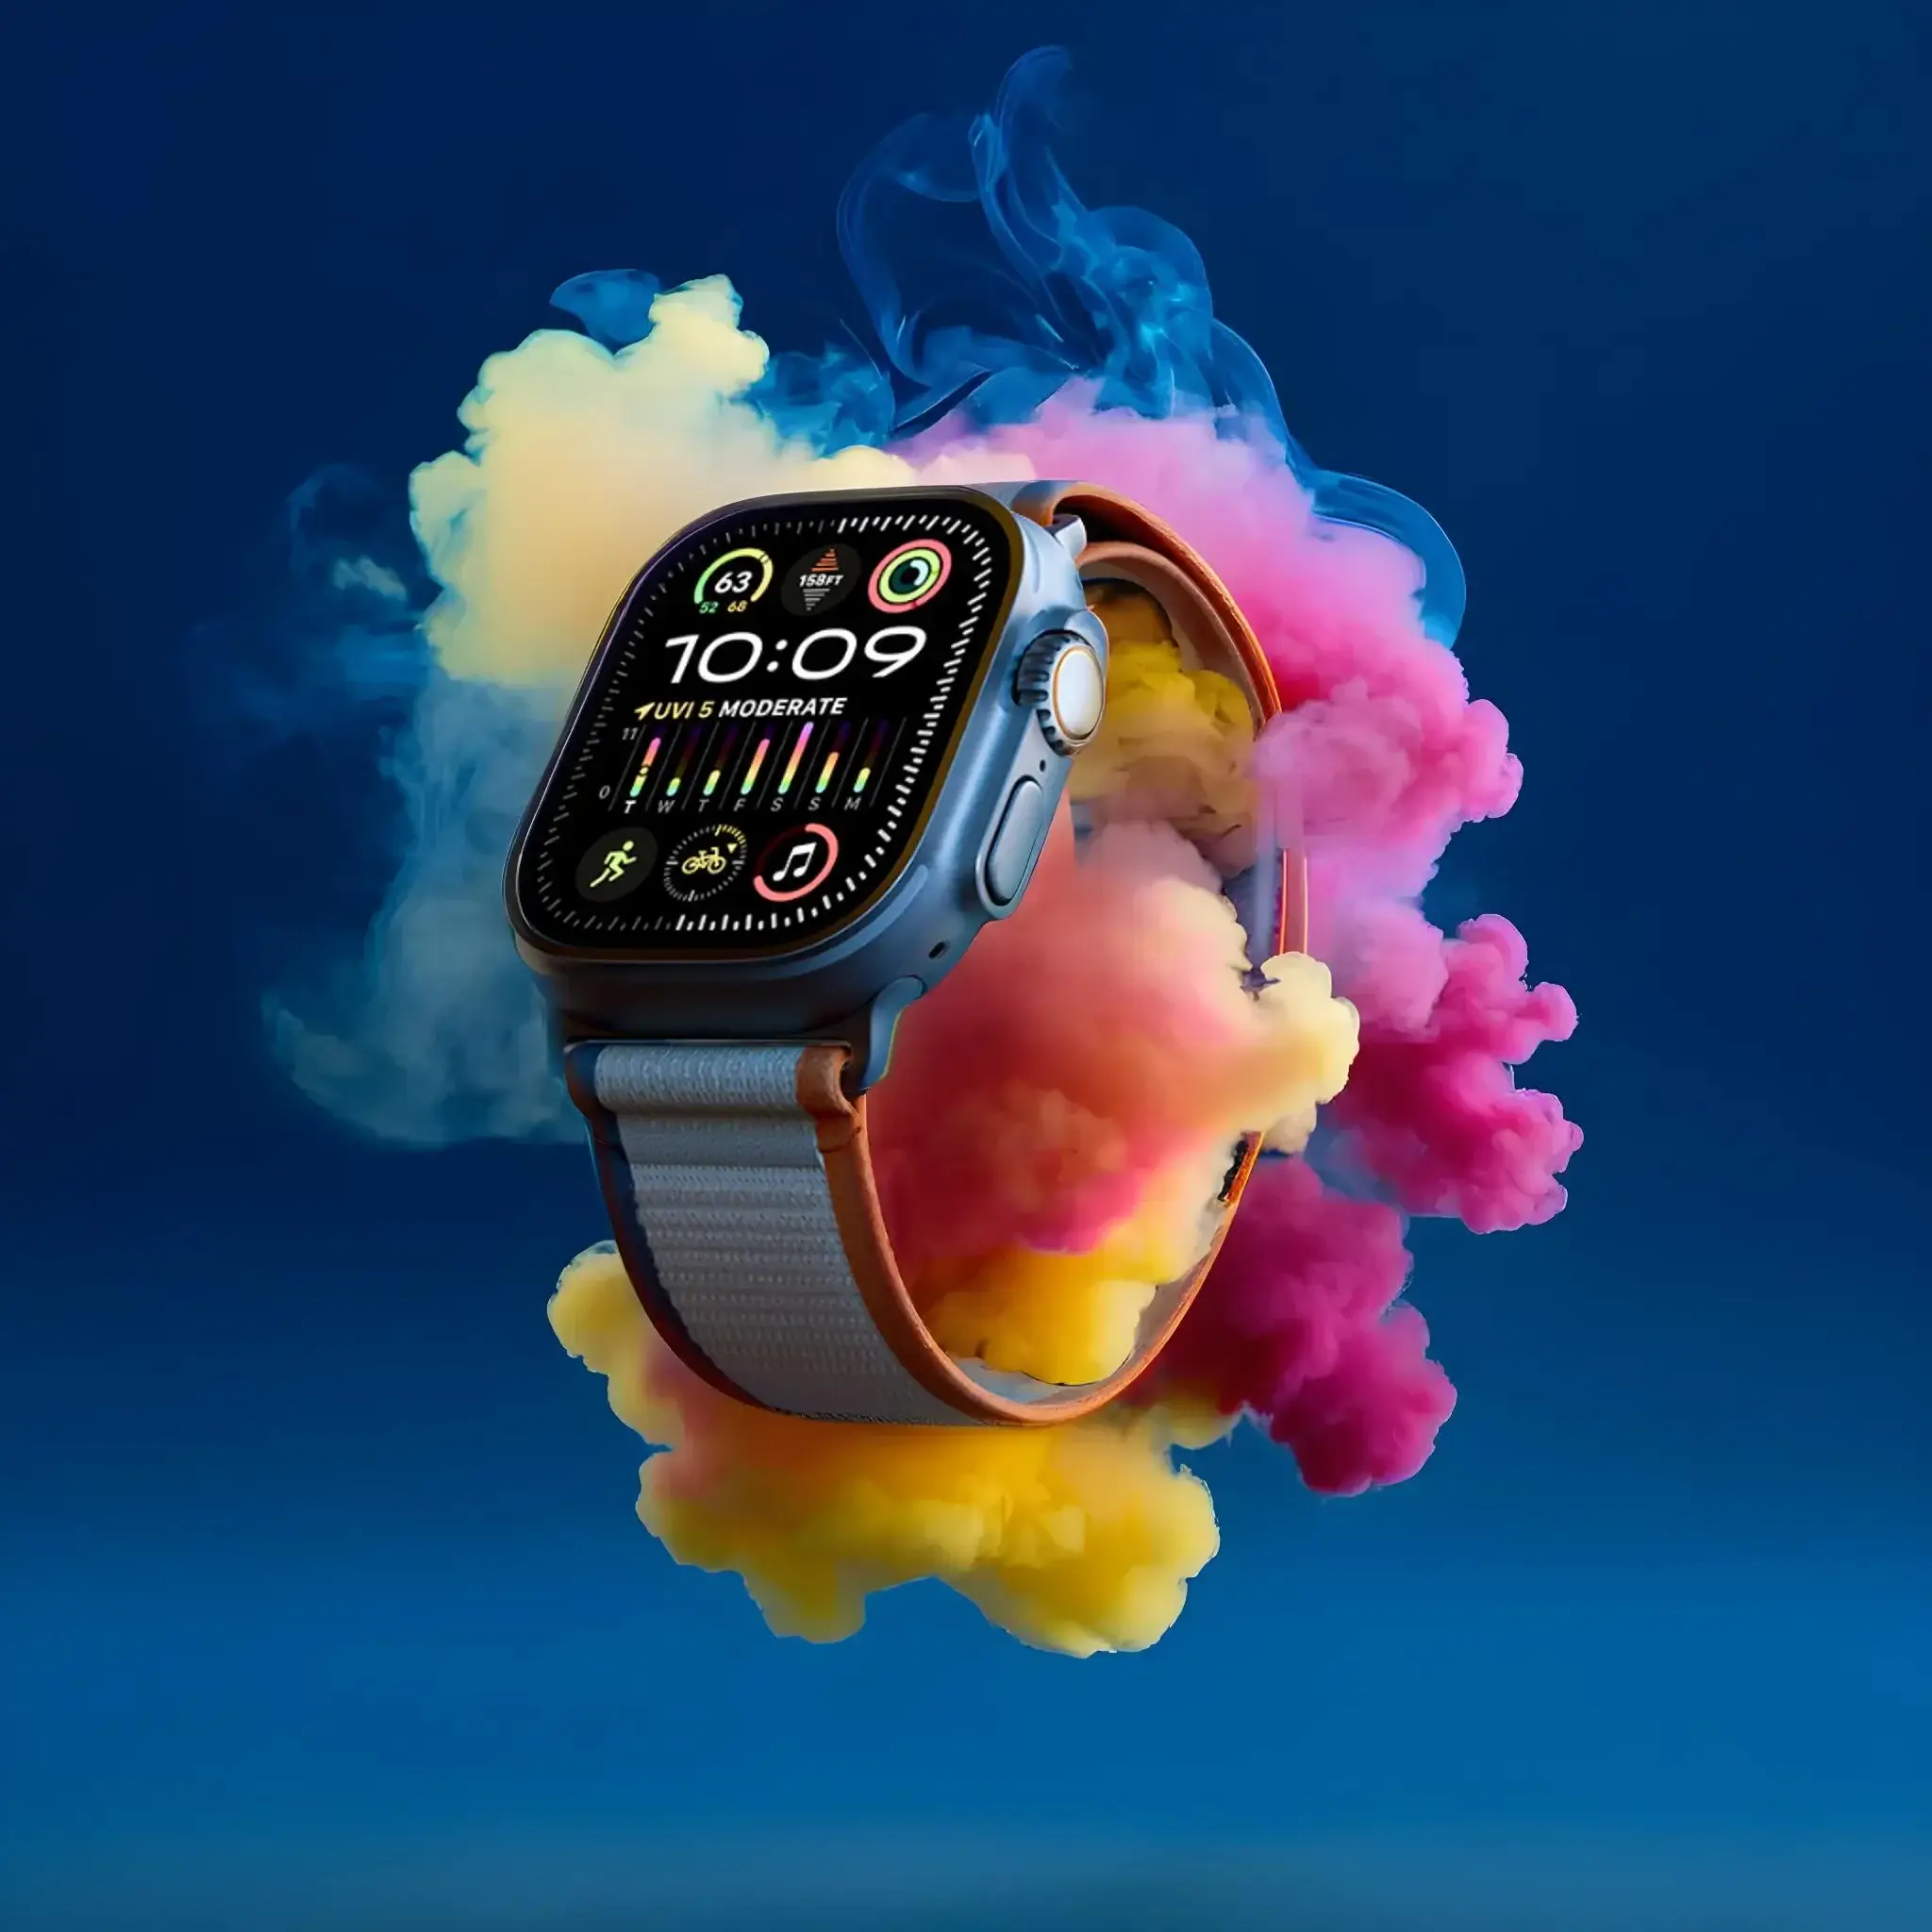
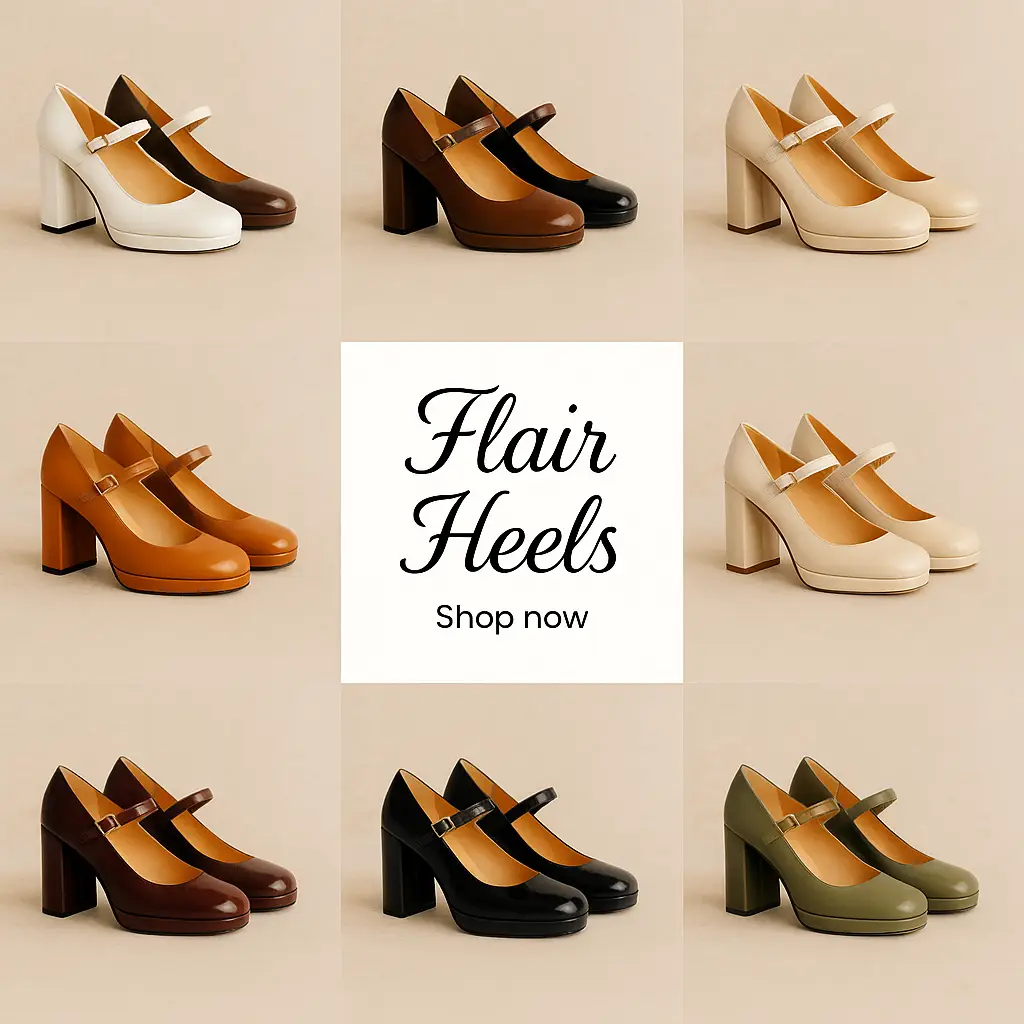
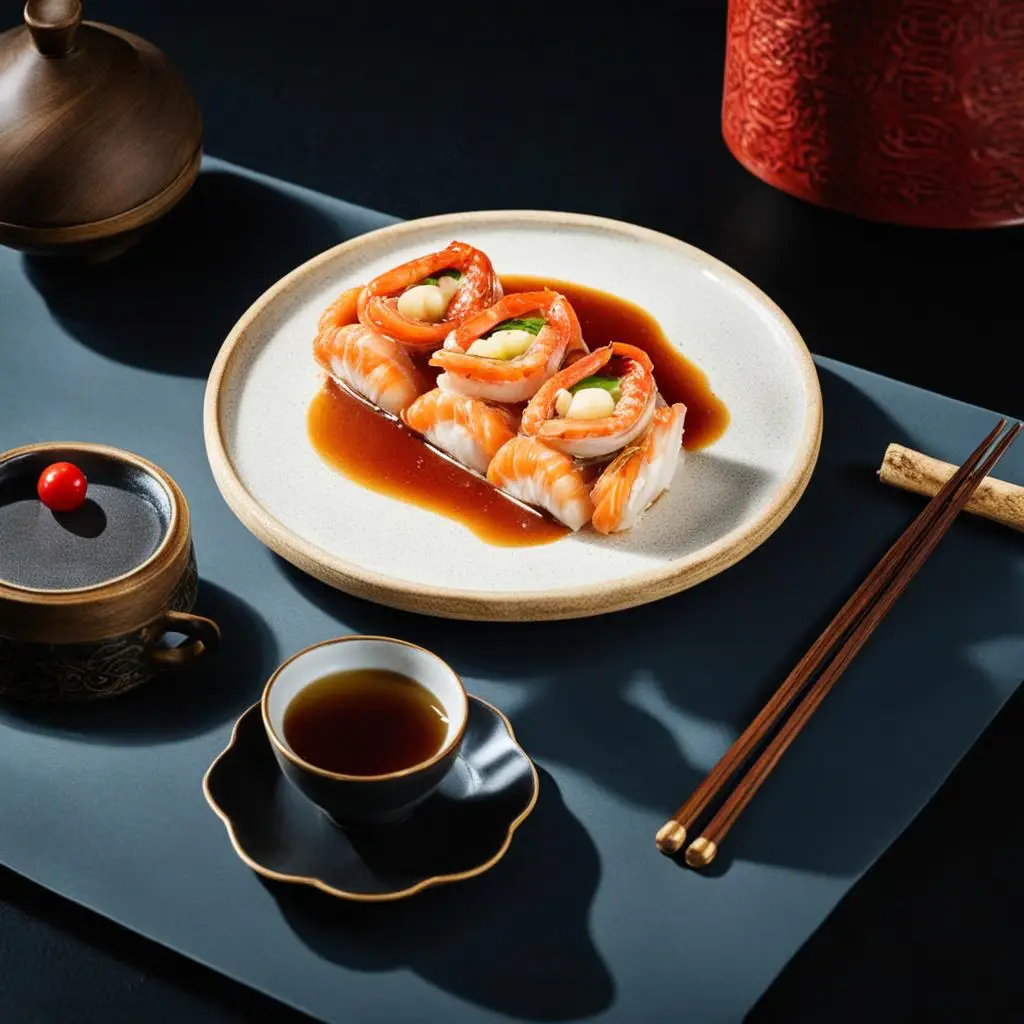
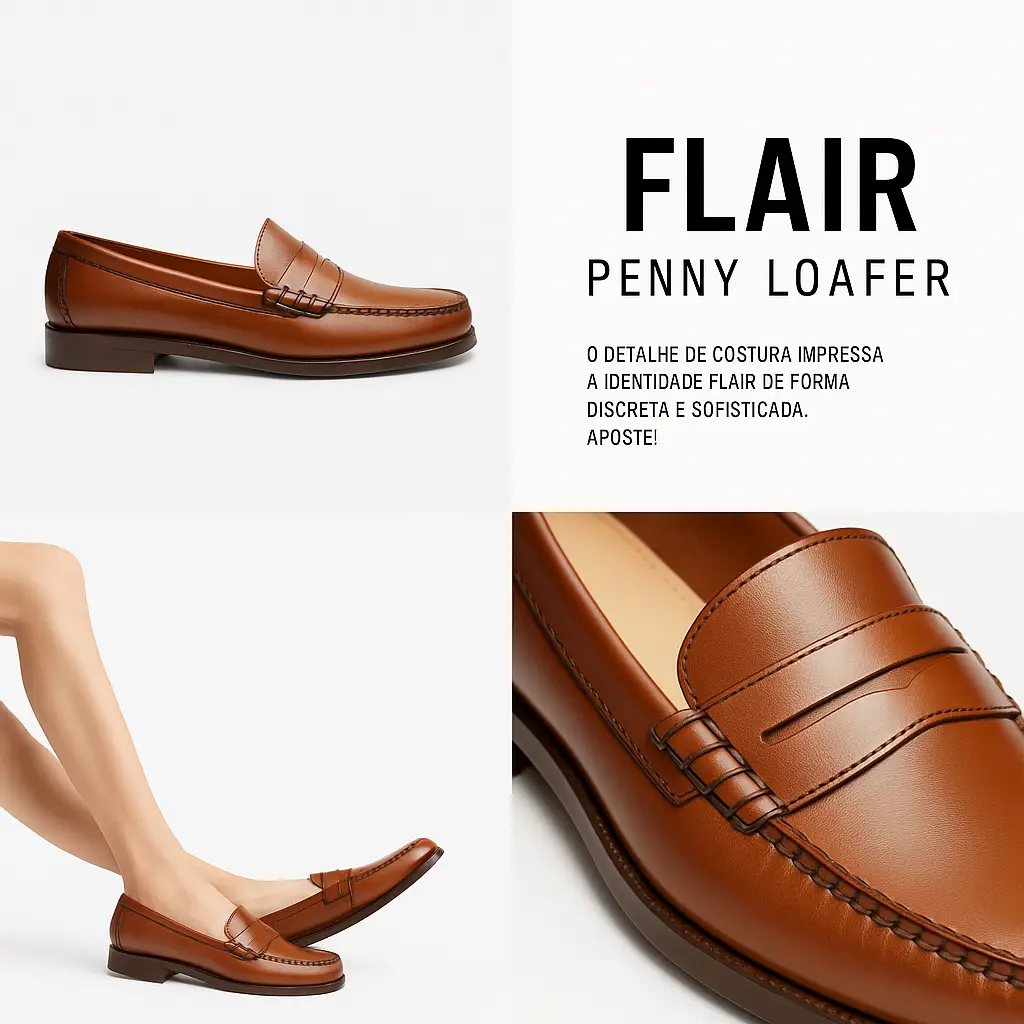
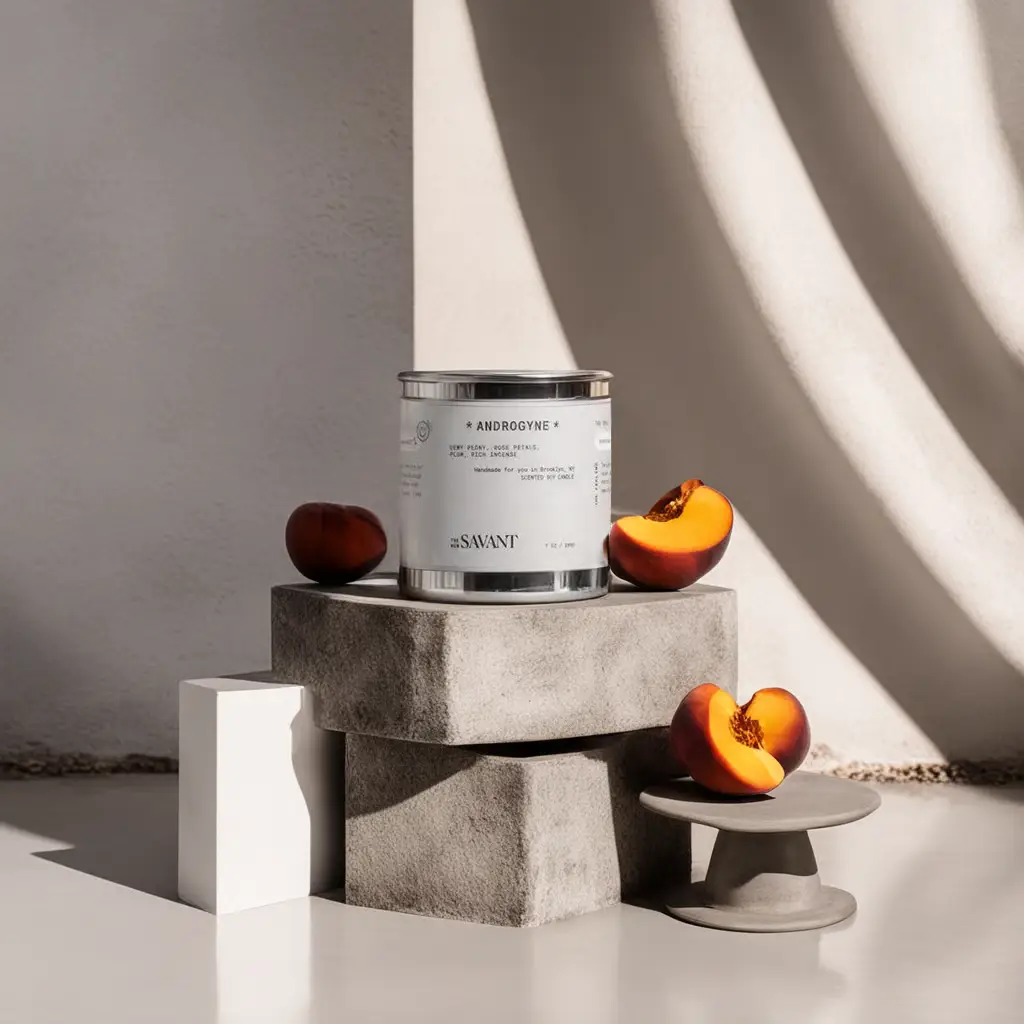
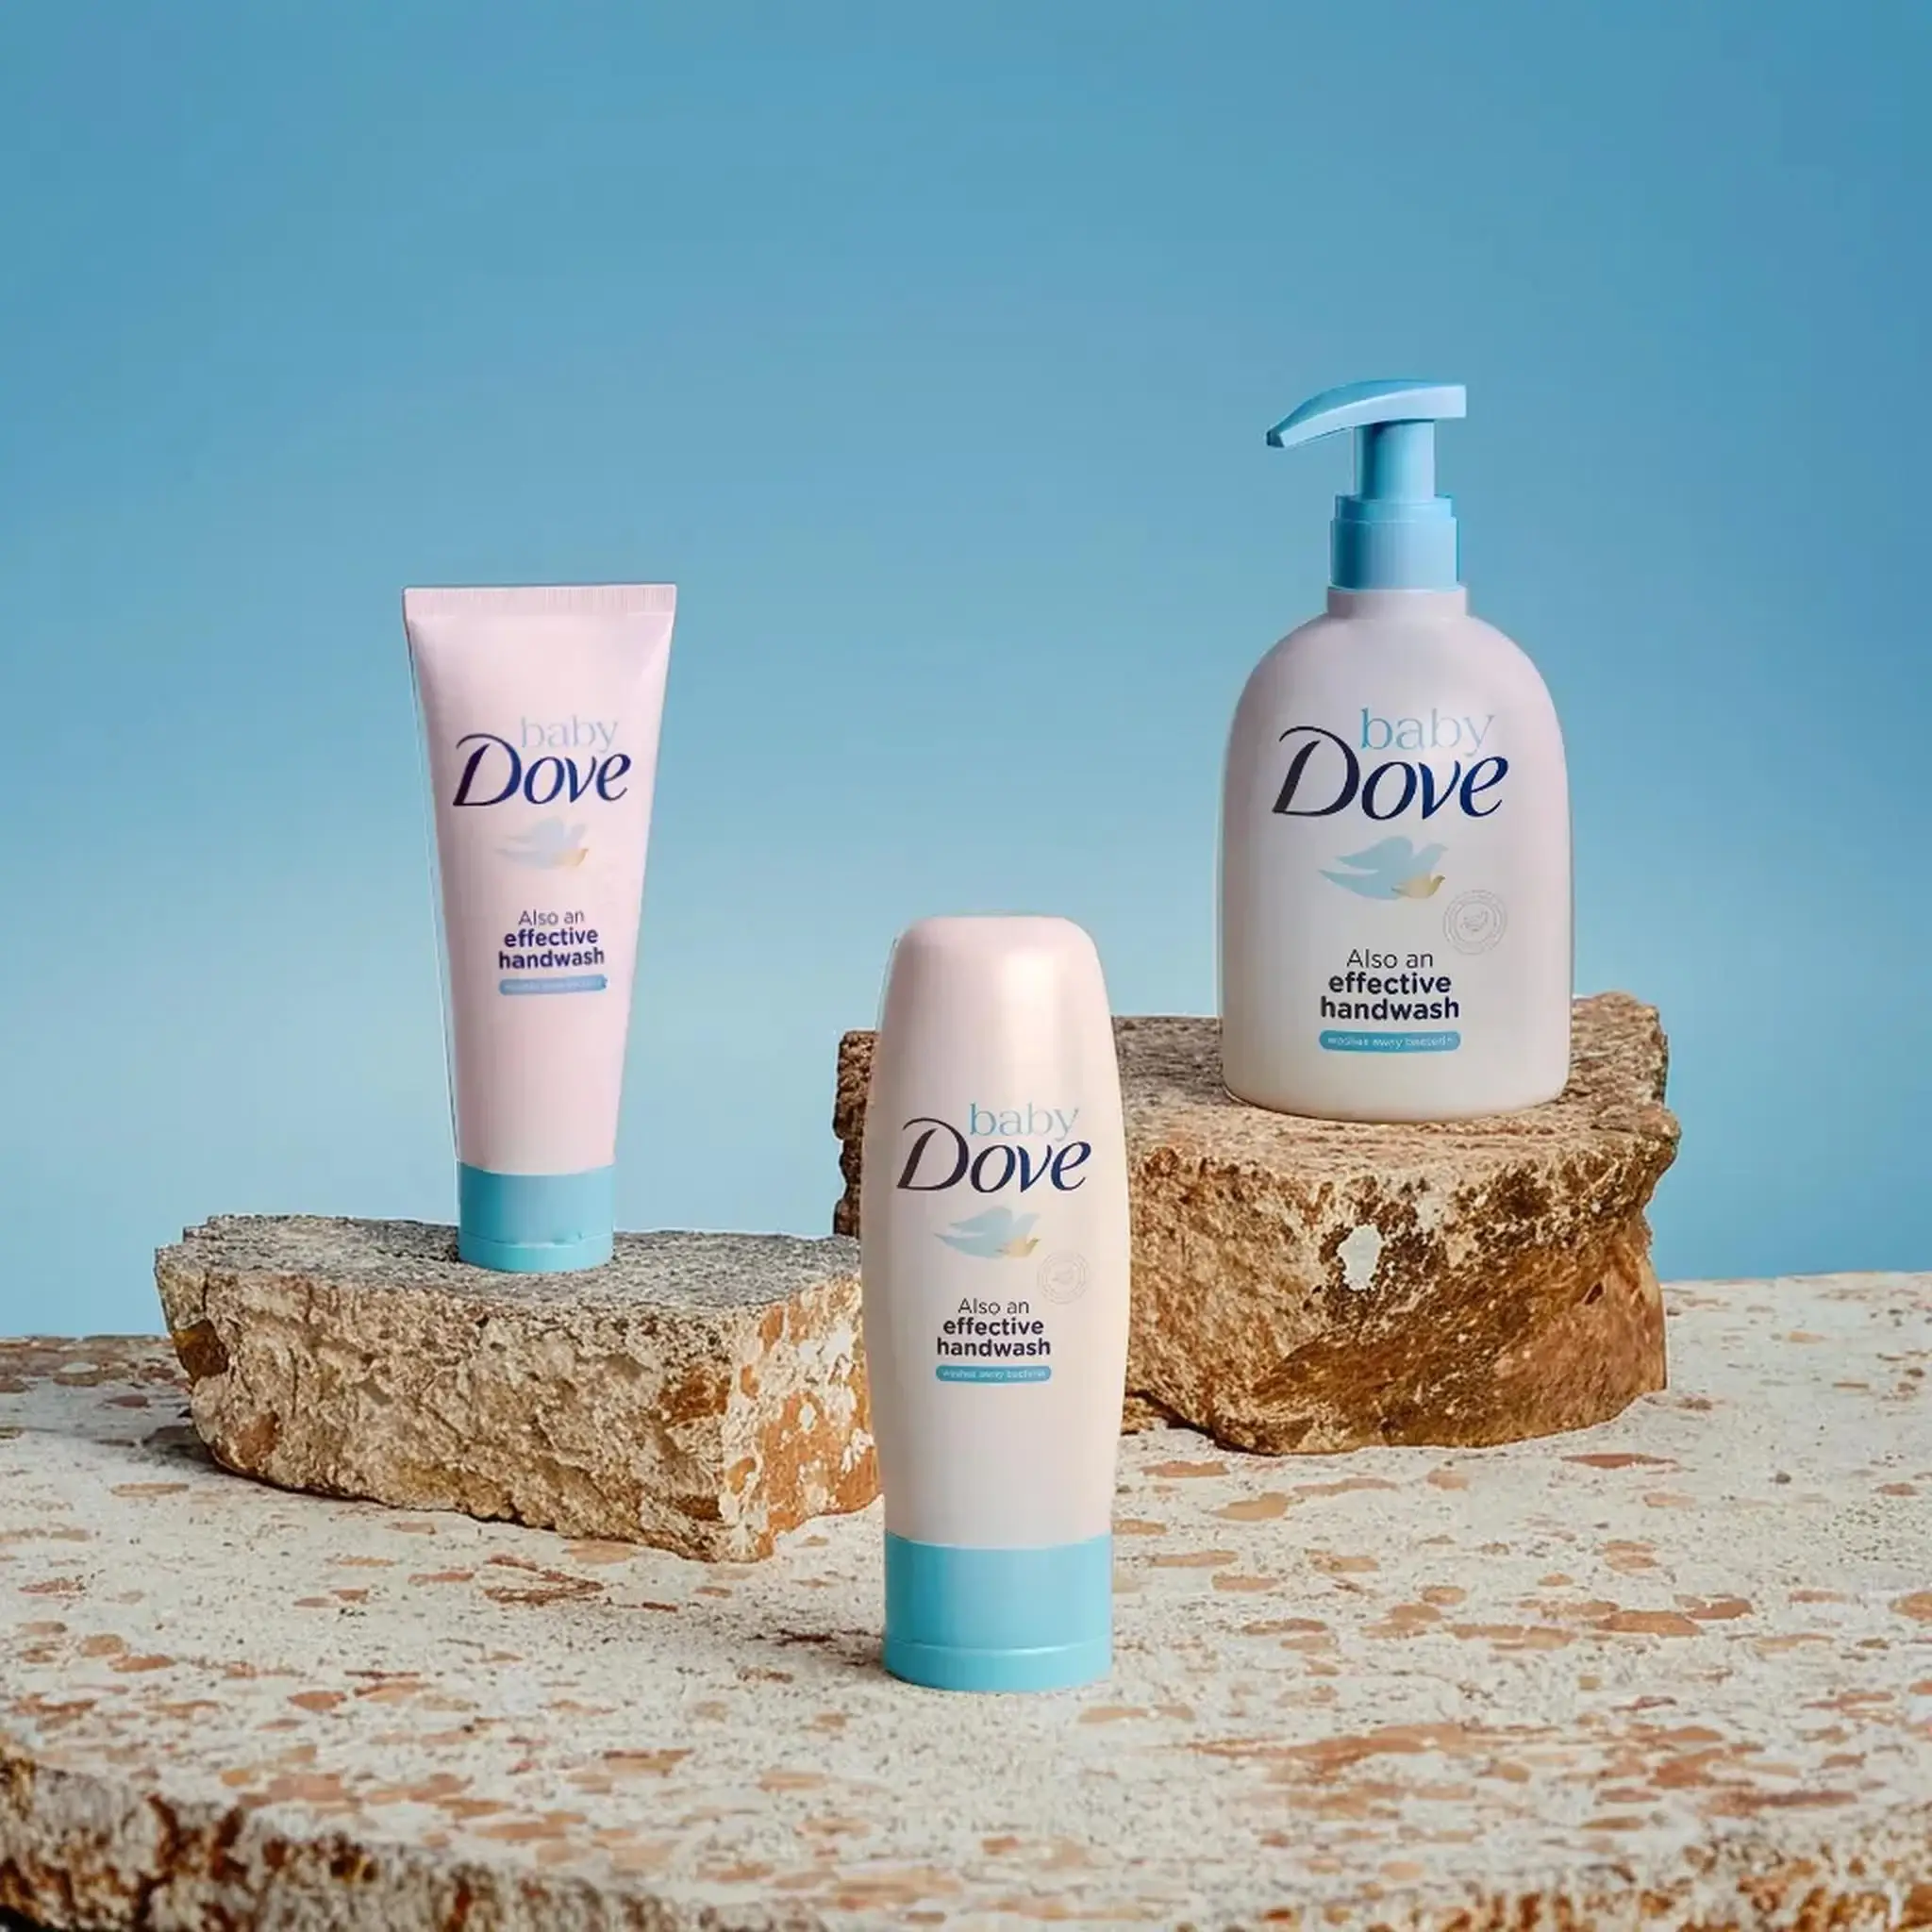
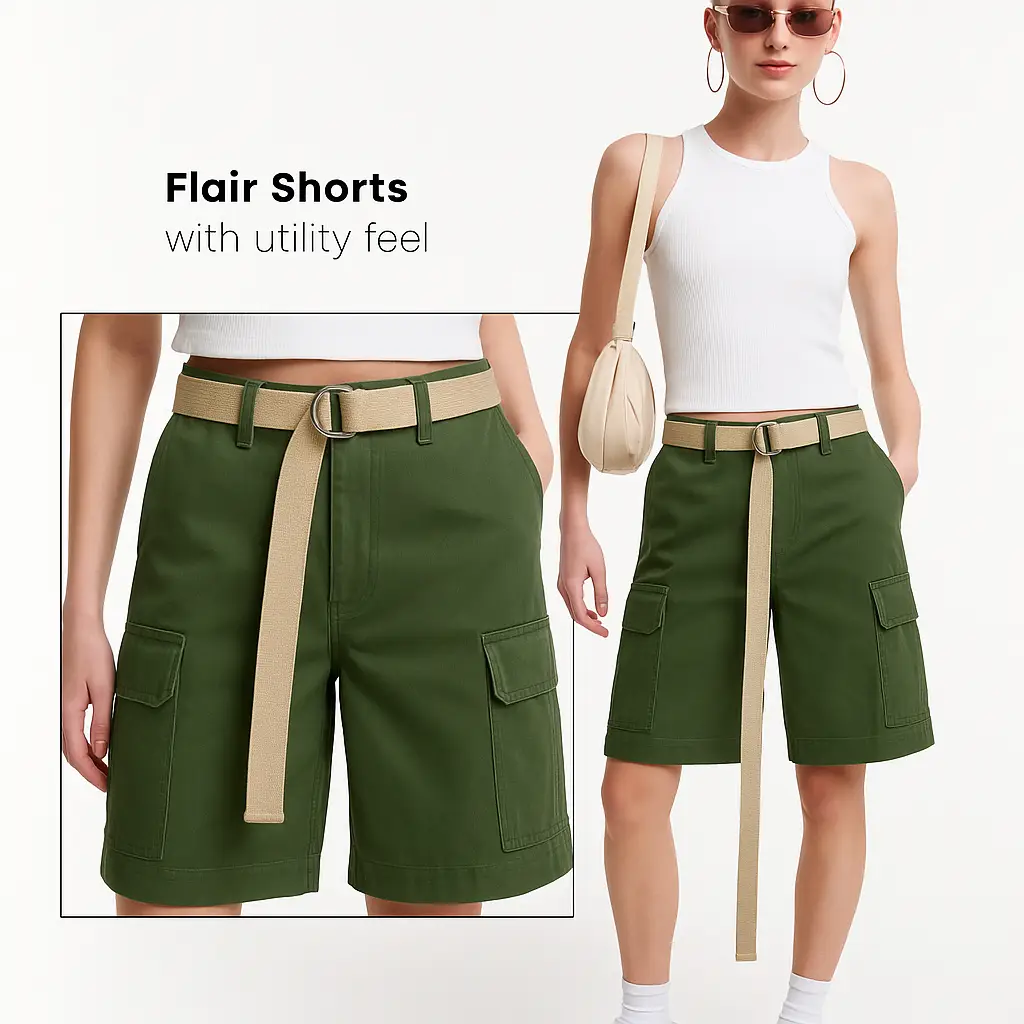

Many AI product tools stop after placing an item in a new scene. Img2.AI is designed for the fuller workflow that e-commerce teams actually need: a primary image, lifestyle scenes, selling-point visuals, and supporting detail or packaging views created from the same product references.
This AI Product Photography workspace lets you define the product name, sales platform, market, output language, delivery type, aspect ratio, resolution, and verified product requirements in one brief. Smart mode prepares a seven-image structure. Custom mode lets you allocate 7–12 outputs across primary, lifestyle, selling-point, and supporting image roles.
The result is a reviewable image set rather than an unrelated collection of one-off generations. Each image is produced independently, so a lifestyle scene, detail close-up, dimension concept, or packaging angle can have a clear purpose without being crowded into a collage.
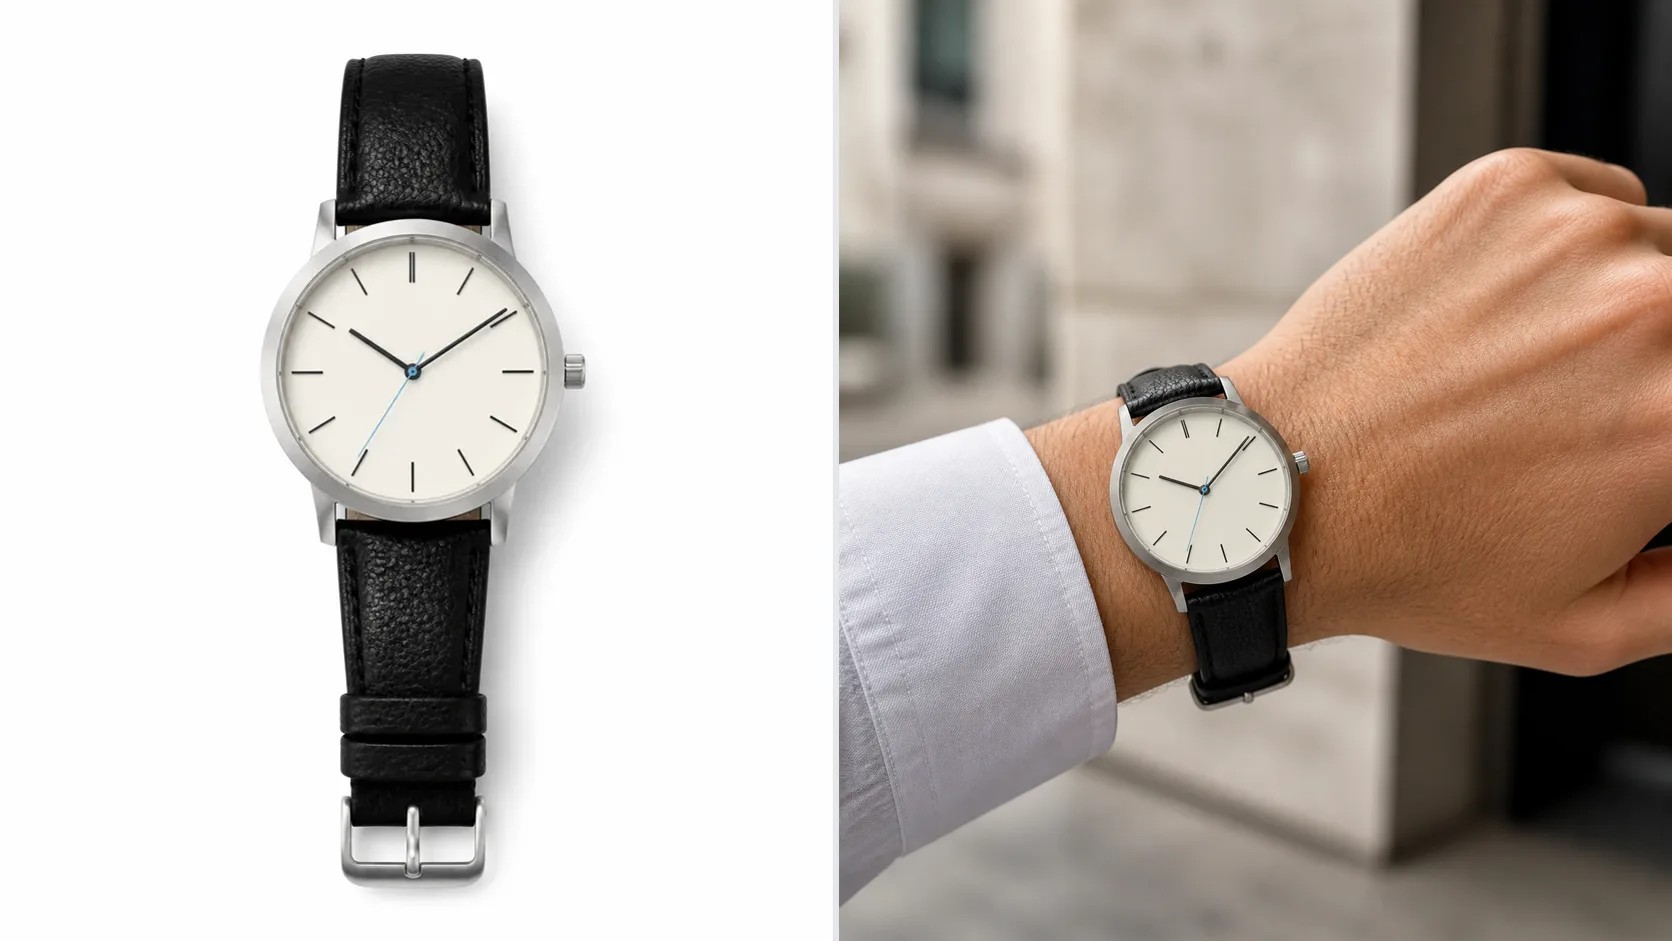
Example brief Keep the product shape, color, material, accessories, and visible packaging unchanged. Create a clean primary image with even studio light and a natural contact shadow. Do not add text or promotional badges.
Product Reference · Buyer Questions · Listing Sequence
Paid users repeatedly work from an existing product photo and ask for a clean main image, supporting scenes, feature visuals, and detail views. Build the sequence around the buyer's questions: What is it? What does it look like in context? Which verified benefit matters? What detail reduces uncertainty?
Best practice: Check the destination's current main-image rules. AI Product Photography can help create a direction, but it does not guarantee marketplace approval.
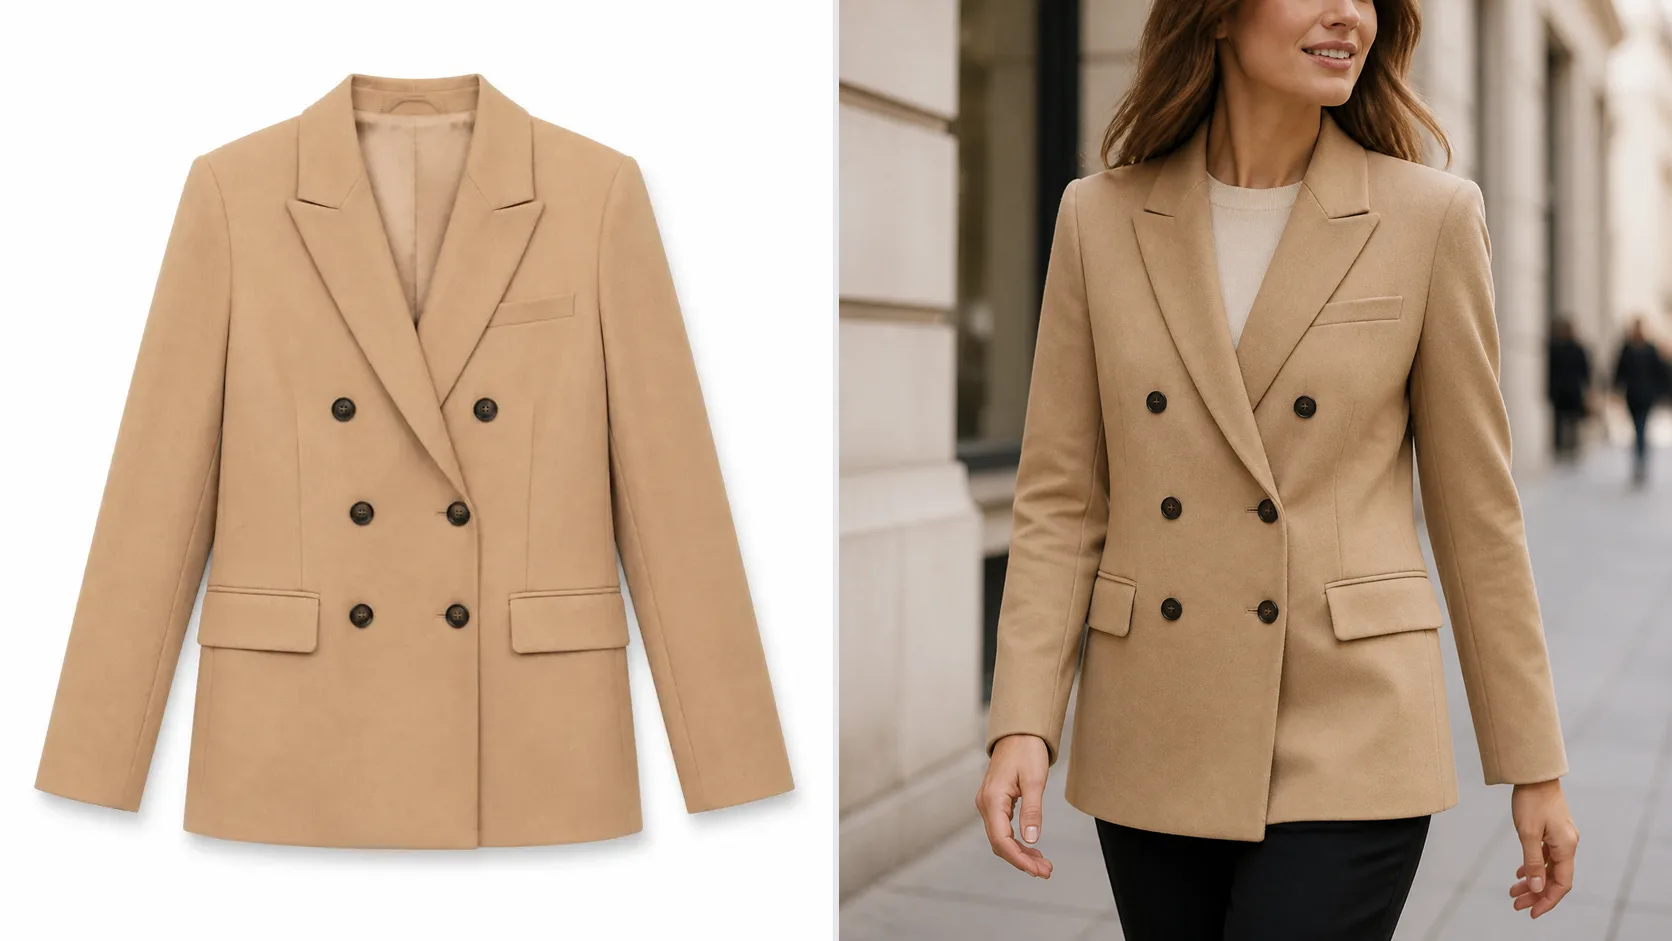
Example brief Place the complete product on a seamless pure-white background. Use soft, even light, clean edges, and a subtle realistic shadow. Preserve the exact construction, finish, and component count.
Clearest Reference · Full Product in Frame · Studio Primary
White-background and studio-style requests appear throughout the paid prompt data. Start from the clearest reference, keep the entire product in frame, remove unrelated set clutter, and inspect the result for altered edges, missing components, or unrealistic shadows.
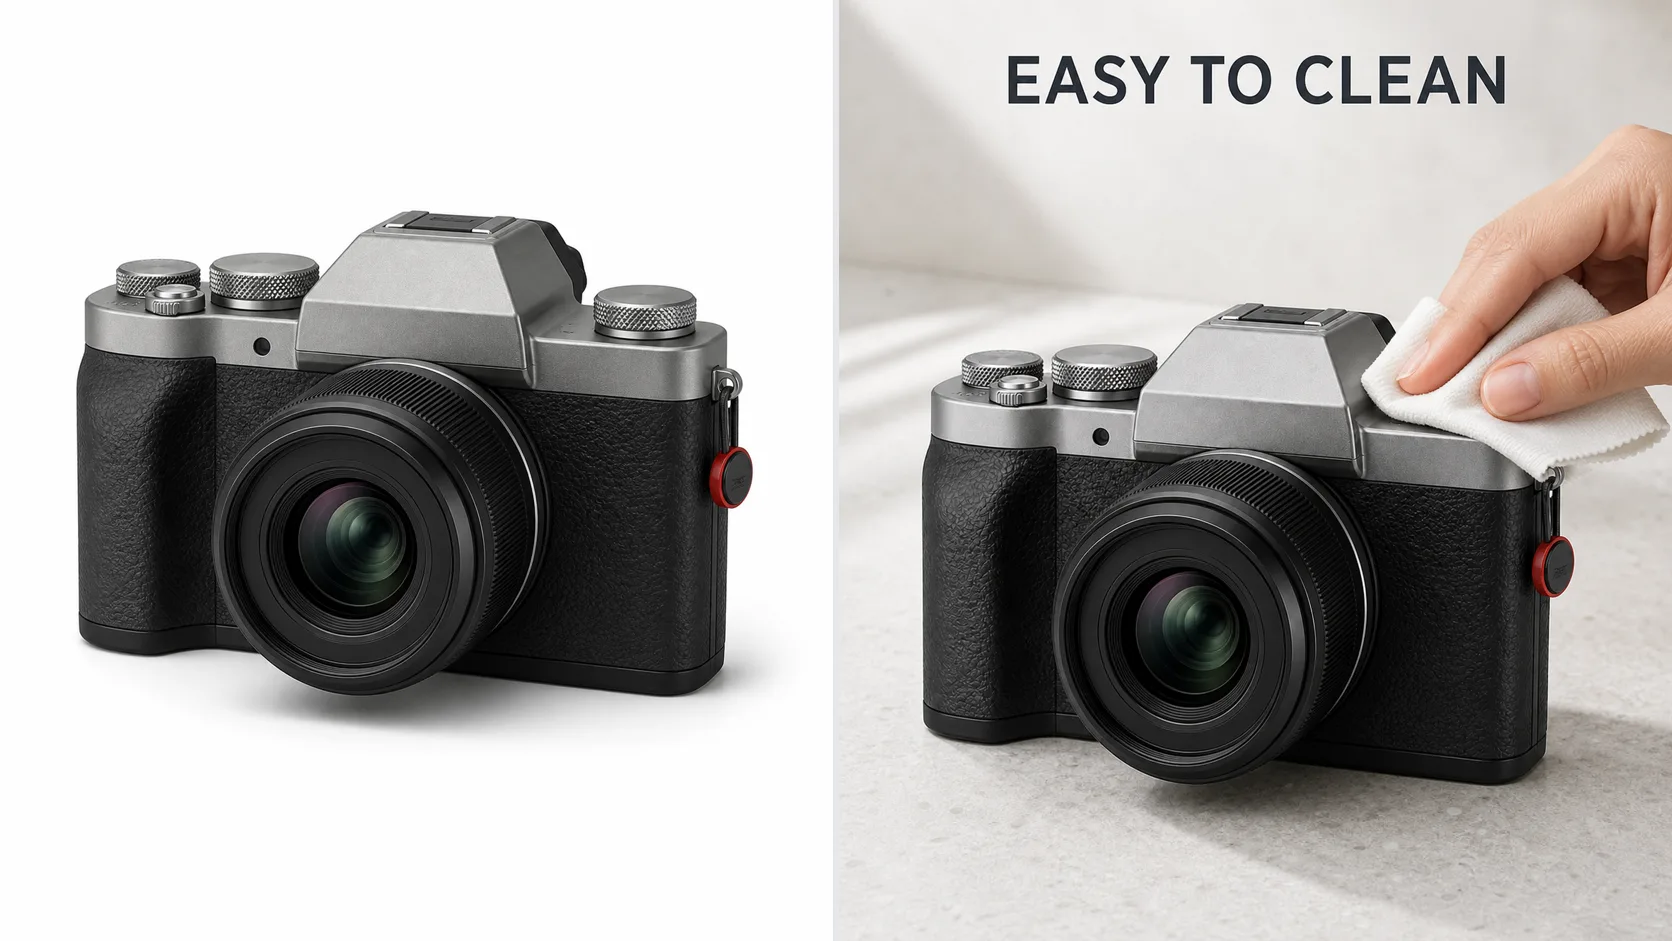
Example brief Show the product in a clear use context that demonstrates the verified easy-clean surface. Keep the product dominant. Add only the approved short headline in the selected language.
Verified Benefits · One Point Per Image · Feature Visual
Real product workflows often combine a product reference with benefits, dimensions, materials, or usage instructions. Use one selling point per image. A focused visual hierarchy is easier to review than a crowded poster filled with claims.
Tip: If a measurement or performance claim is not supplied and verified, leave it out. For dimensions, use exact values only when the user provides them; otherwise show scale through a familiar object or use context.
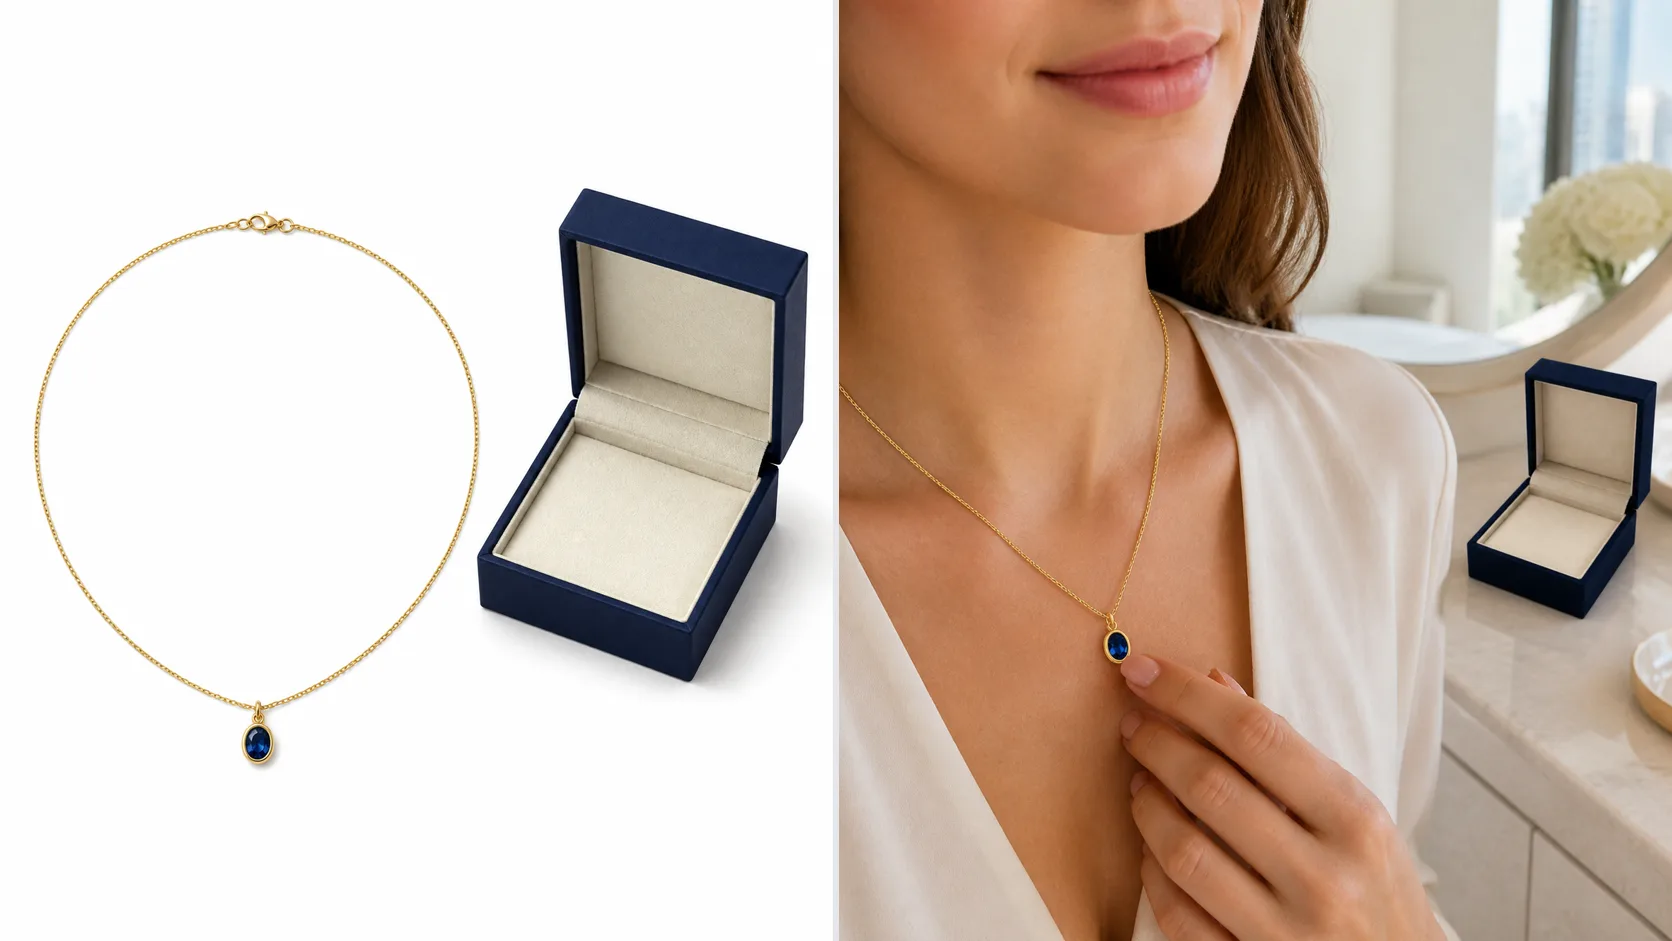
Example brief Place this product in a bright modern apartment used by the target customer. Show one natural use moment with restrained props, soft daylight, and realistic contact with the environment. Keep packaging visible and accurate.
Location · Light Source · Lifestyle Scene
Paid users request believable rooms, workspaces, outdoor settings, seasonal environments, and hands-on usage. Describe the location, surface, time of day, light source, supporting props, and intended shopper while keeping the product as the focal point.
Tip: When several contexts are needed, generate separate lifestyle images inside the set instead of forcing four scenes into one canvas.
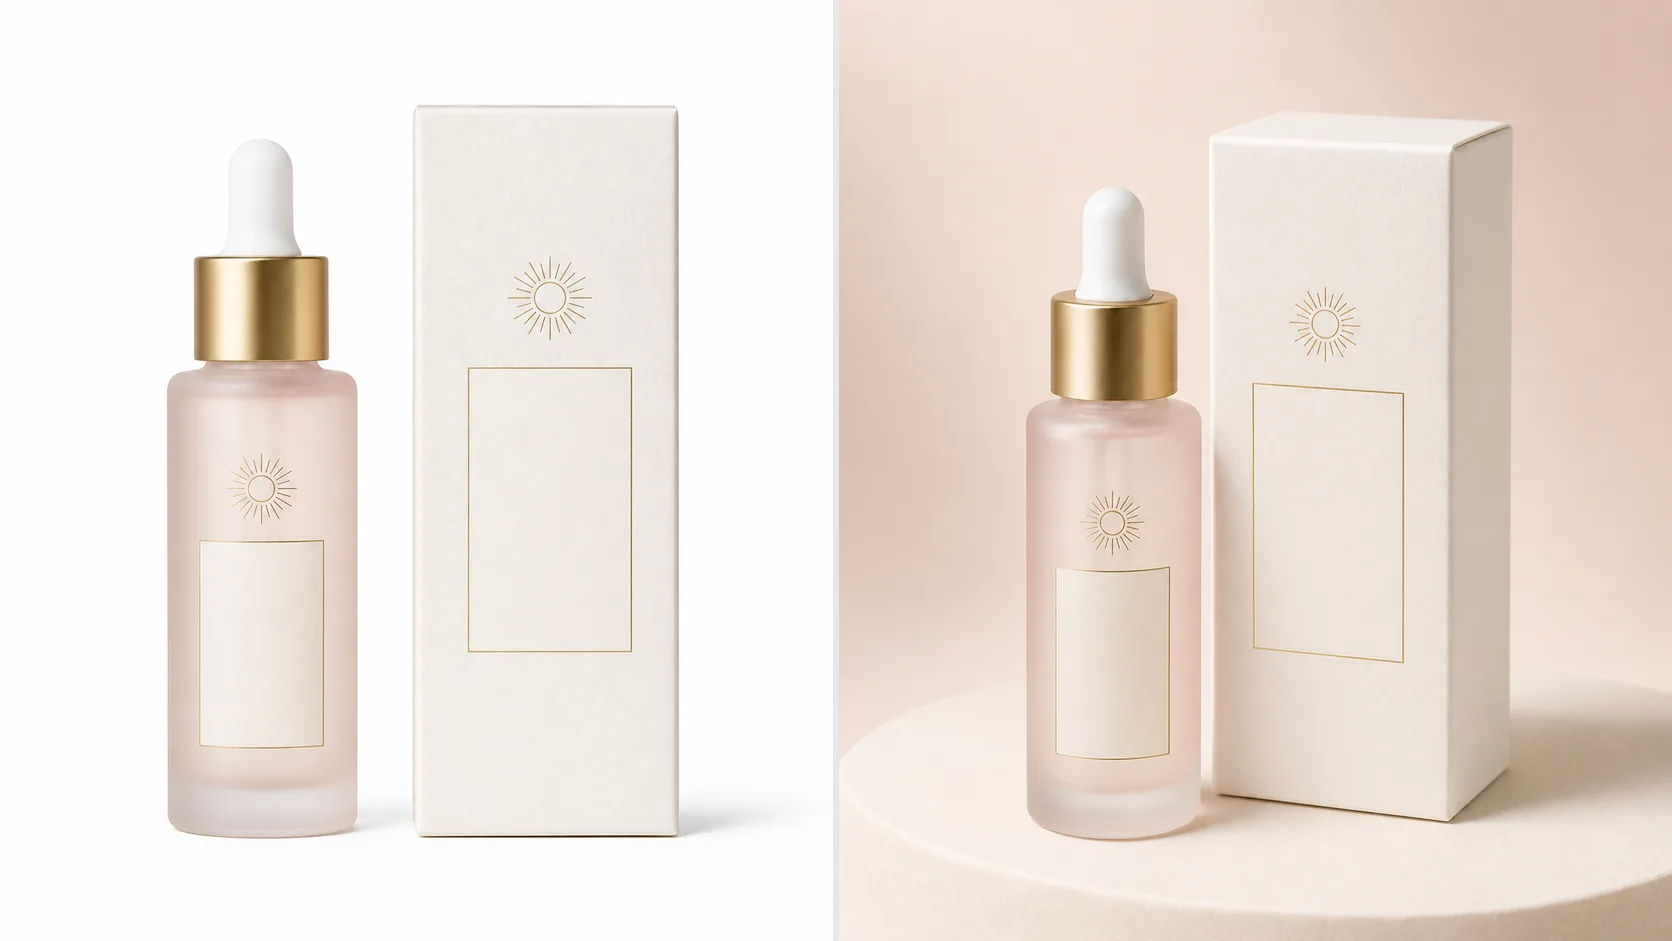
Example brief Create a three-quarter packaging view with realistic paper, plastic, glass, or metal texture. Preserve the visible logo position, label layout, color, closure, and included components. Do not invent text on hidden areas.
Front, Side, Closure · Label Accuracy · Detail Slots
Bottles, jars, pouches, cartons, cosmetics, supplements, and labeled goods need closer inspection than simple unbranded objects. Upload references that reveal the front, side, closure, label, and included parts. Use supporting slots for packaging angles and details that the primary image cannot show.
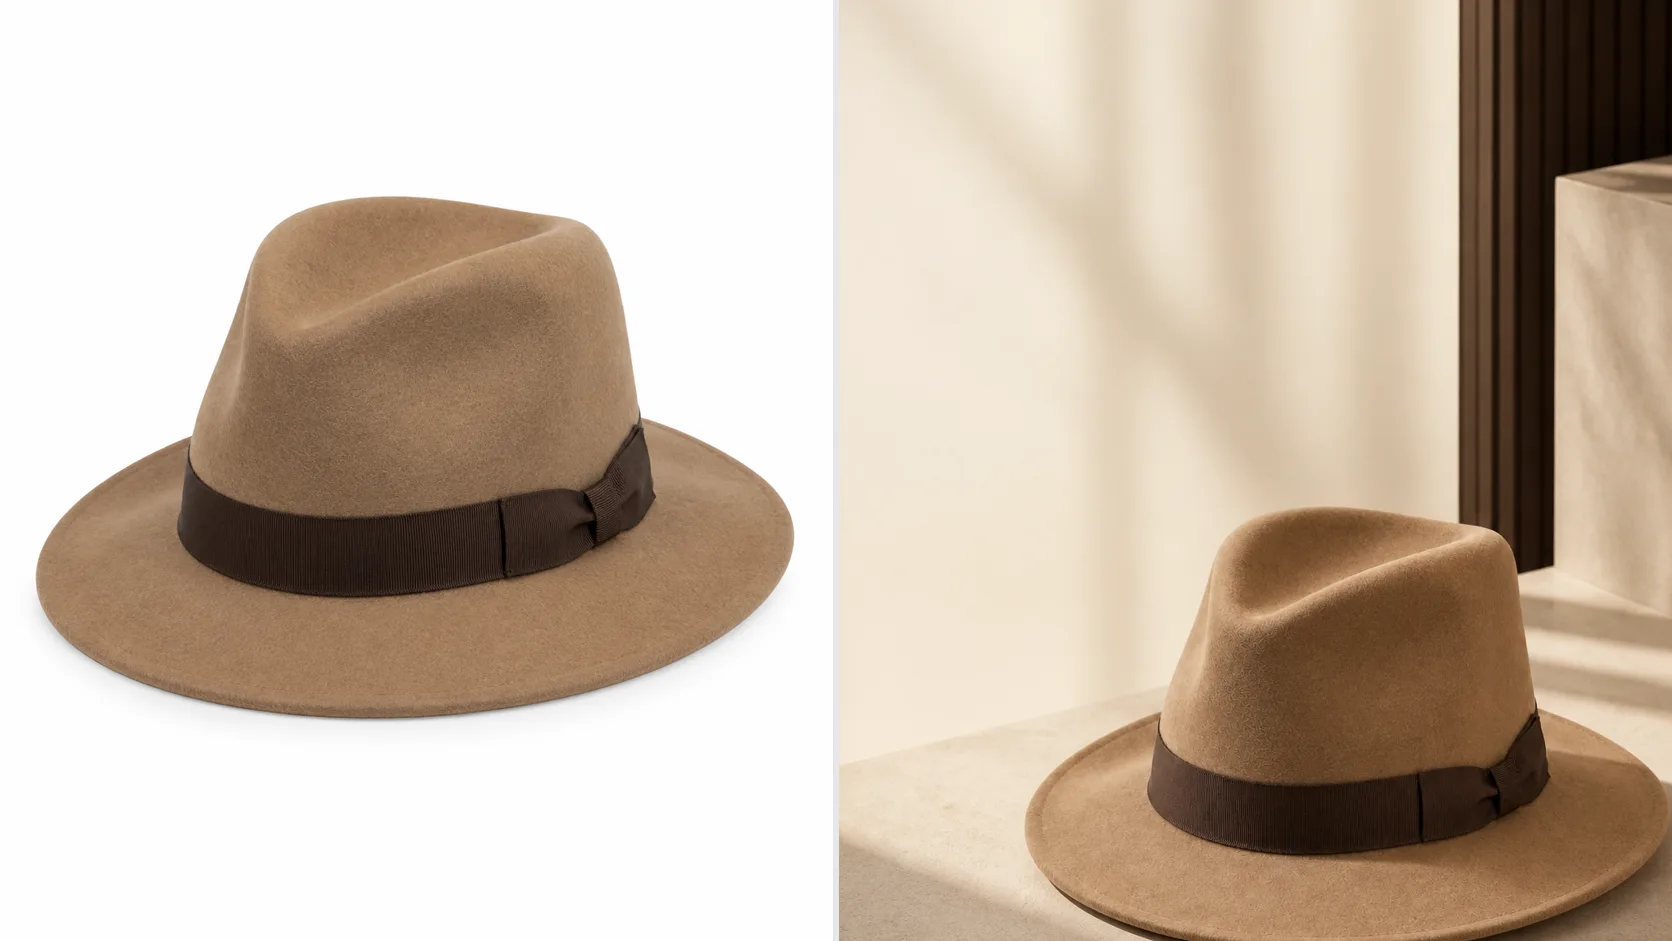
Example brief Create a horizontal product-ad concept with a strong focal point, realistic directional light, and open space on the left for approved copy. Use the brand palette without recoloring the product.
Platform · Market · Language · Format
Use the platform, market, language, and format controls to plan a set for a specific destination. Reserve clean space when a designer needs to add a headline later. If generated text is requested, keep it short and proofread every character.
This AI Product Photography workflow is especially useful when one product needs a listing image, a lifestyle visual, a feature-led creative, and a social or storefront variation from the same approved references.
Workflow
Add 1–6 photos of the same product. Include useful angles and make sure important edges, labels, accessories, controls, and materials are visible. Avoid blurry images, heavy occlusion, extreme perspective, and backgrounds that hide the silhouette.
Choose the platform, target market, image language, delivery type, format, and resolution. These choices give each output a commercial role instead of leaving the AI to guess where the image will be used.
Use Smart match for a balanced seven-image plan or Custom mode for a 7–12 image set. Decide how many outputs should be primary, lifestyle, selling-point, or supporting images.
Describe materials, included parts, approved benefits, required usage contexts, exact measurements, and any permitted copy. Separate facts from visual preferences. “Matte black aluminum body” is a product fact; “cool blue evening light” is art direction.
Review every output against the references. Check shape, proportions, color, label, logo, material, component count, edges, reflections, shadows, and generated text. Download the images that pass review and retry failed slots when needed.
Input quality
A better source does not guarantee a perfect result, but it gives the model more reliable evidence.
One small, blurry image with part of the product hidden.
A sharp front view plus useful side or packaging views that reveal the details shoppers need.
Review before publishing
AI Product Photography should be reviewed as generated commercial creative, not treated as unquestioned product documentation. A realistic background can still contain an inaccurate product.
Reflective, transparent, highly patterned, text-heavy, or regulated products may require extra attempts and manual retouching. Use verified photography or an approved production workflow when absolute accuracy is required for regulated labels, legal claims, technical documentation, safety information, or precise color matching.
Common questions about creating product image sets from reference photos and a written brief.
Get started
Use AI Product Photography to move from one product brief to a planned set of listing, lifestyle, feature, detail, and campaign images—while keeping product review in the workflow.
Commercial use is available under eligible paid plans. Check current terms before publishing.